
Step 1
Login into Flavor CRM with the valid login credentials.
Step 2
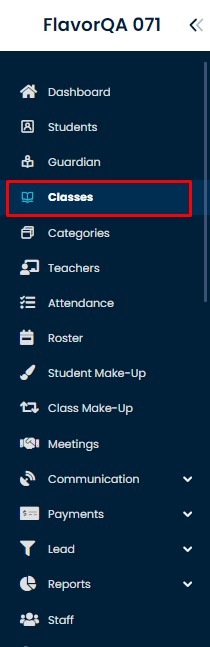
Click on Classes from the left sidebar.
Step 3
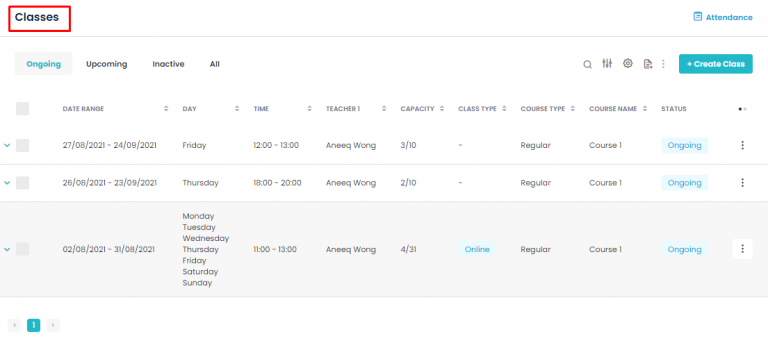
It will take you to Classes list section, where all the Courses are listed
Step 4
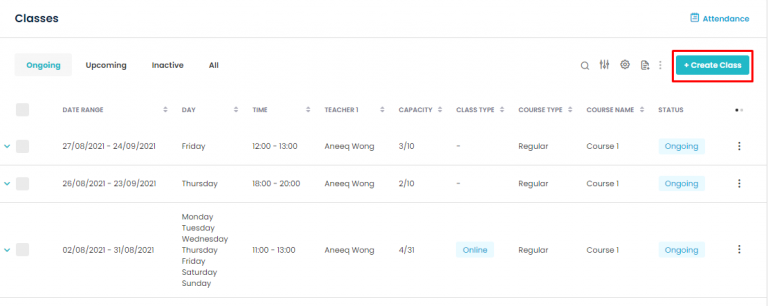
Select the + Create Class button
Step 5
When you click on + Create Class button, it will take you to a new page, where Class details can be filled. Steps are given below.
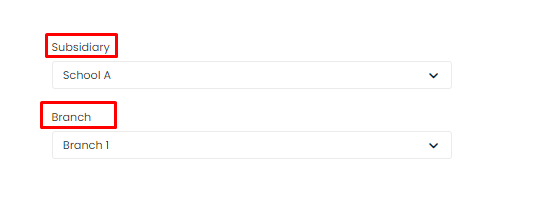
Step 1. Select the Subsidiary and Branch
5.2
Step 2. Fill the Class Information details.
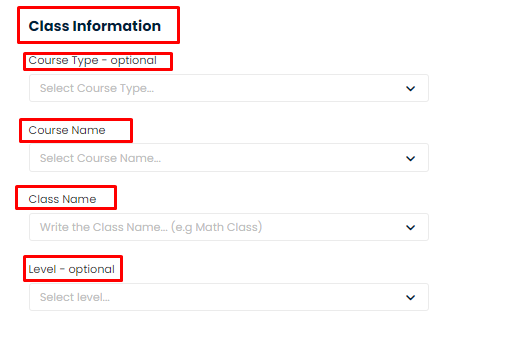
5.3
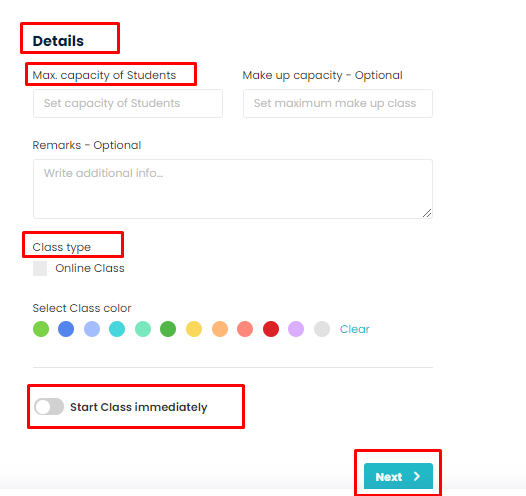
Step 3. Enter the Class Details and click on Next
Step 6
Once you click on Next, Set Schedule page will open where you can set the schedule for the class.
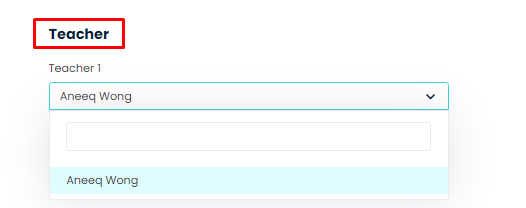
Step 1. Select the Teacher from the list of the Teachers.
6.2
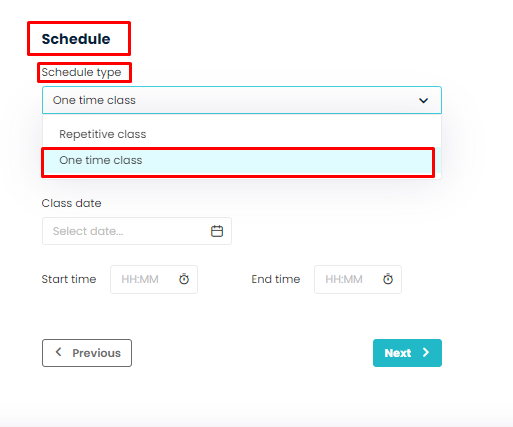
Step 2.
If class is one time Weekly Class, select the One Time Class from the Schedule.
6.3
Step 3. Select the duration, multiple days in a Row for a Weekly class Schedule. Pick the Start date and End date by click on Date box.
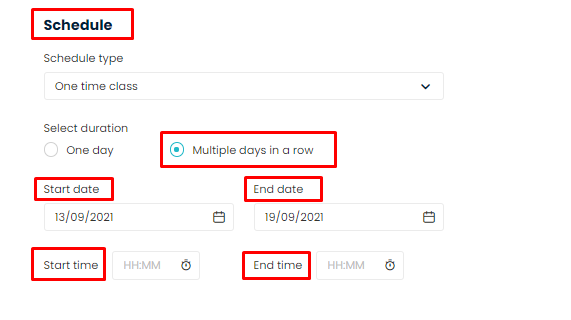
6.4
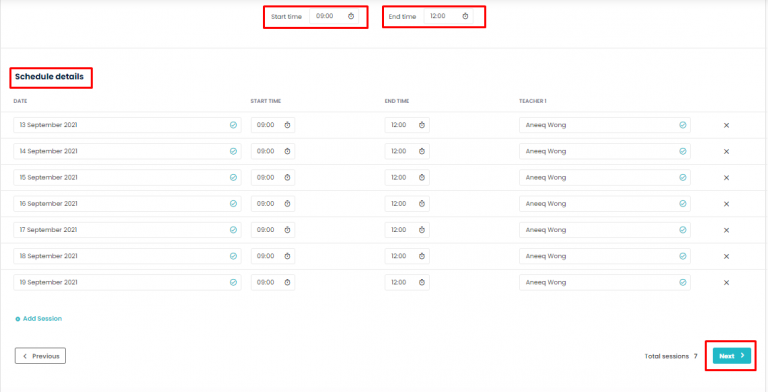
Step 4.
Once you enter the Start time and End time, it will display the Schedule details accordingly for a Weekly Schedule. Click Next to save the Schedule details
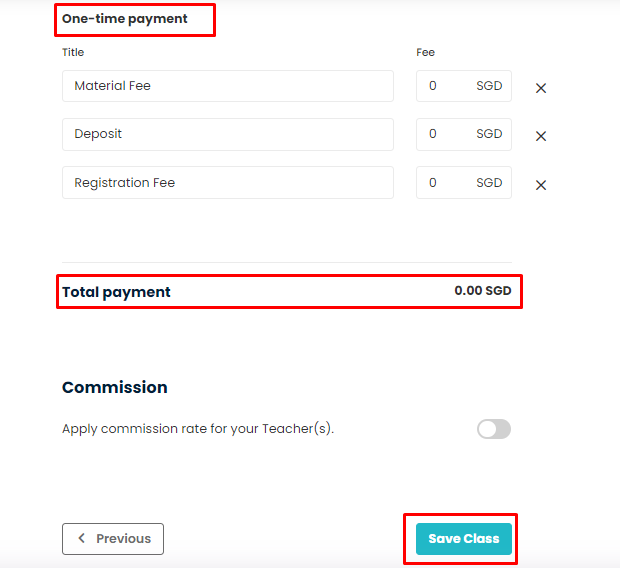
Step 7
The last step is to enter the payment details of a class. Enter the Payment details and click Save Class button to save your one-time Weekly Class.
Need more help? Ask us a question
Please let us know more of your details and our team will reach out to you very shortly.