
Introduction
In the Flavor: Book and Manage classes app, when the parents do class cancel request, the notification via email goes to the branch manager. Also the notification is sent to the student and their parents in their respective email ids. Here in this article you will find as to how to set the notification template for these notification emails.
Step 1
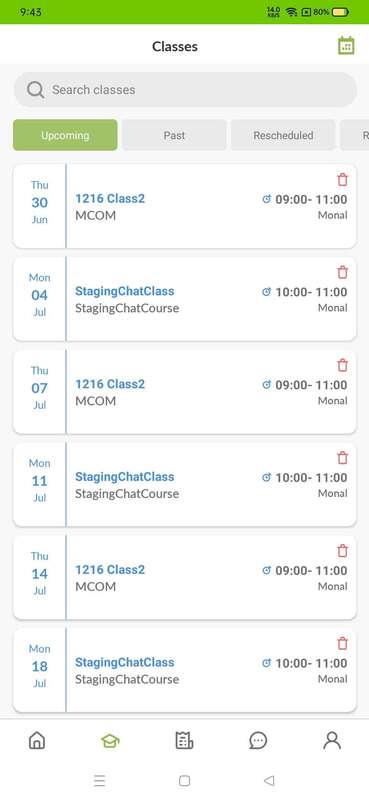
- Login to the Flavor: Book and Manage classes App.
- On the Upcoming Tab, you can see the list of classes.
Note:
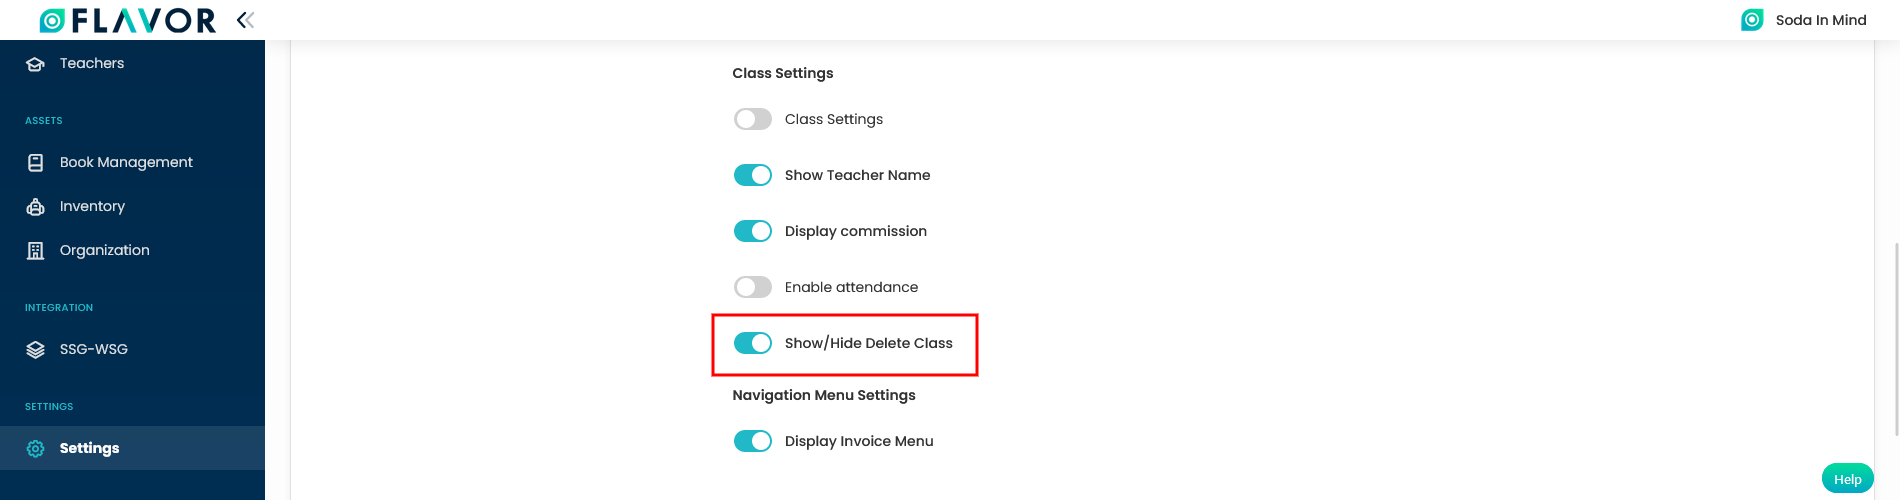
You can do the settings to show/hide the delete button as per your need. Follow the steps to do so.
- Go to the Settings from the left-side menu of the Flavor System.
- On the Settings page, scroll down to Mobile Configuration.
- Click on Setup Mobile Configuration button.
- On the Mobile Configuration Page, scroll down to Class Settings.
- Enable/Disable the Show/Hide Delete Class switch to show/hide the Delete button on the Flavor: Book and Manage classes App.
Step 2
- There will be a delete button against each class.
- Click on the delete button against the specific class which you want to cancel.
- A confirmation popup will appear on your screen.
- Click on the Cancel button.
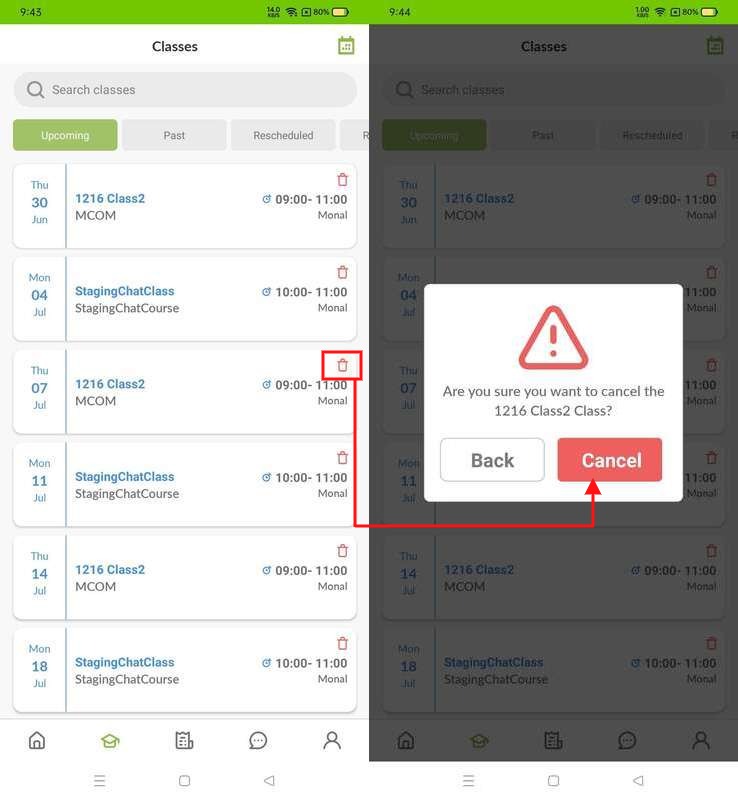
Note : In Reschedule tab, if classes are in pending or rejected status then delete button are not seen.
Once the Cancel button is clicked, a notification email will be sent to the Branch Manager, Student and Parent.
How to set the template for notification?
Step 1
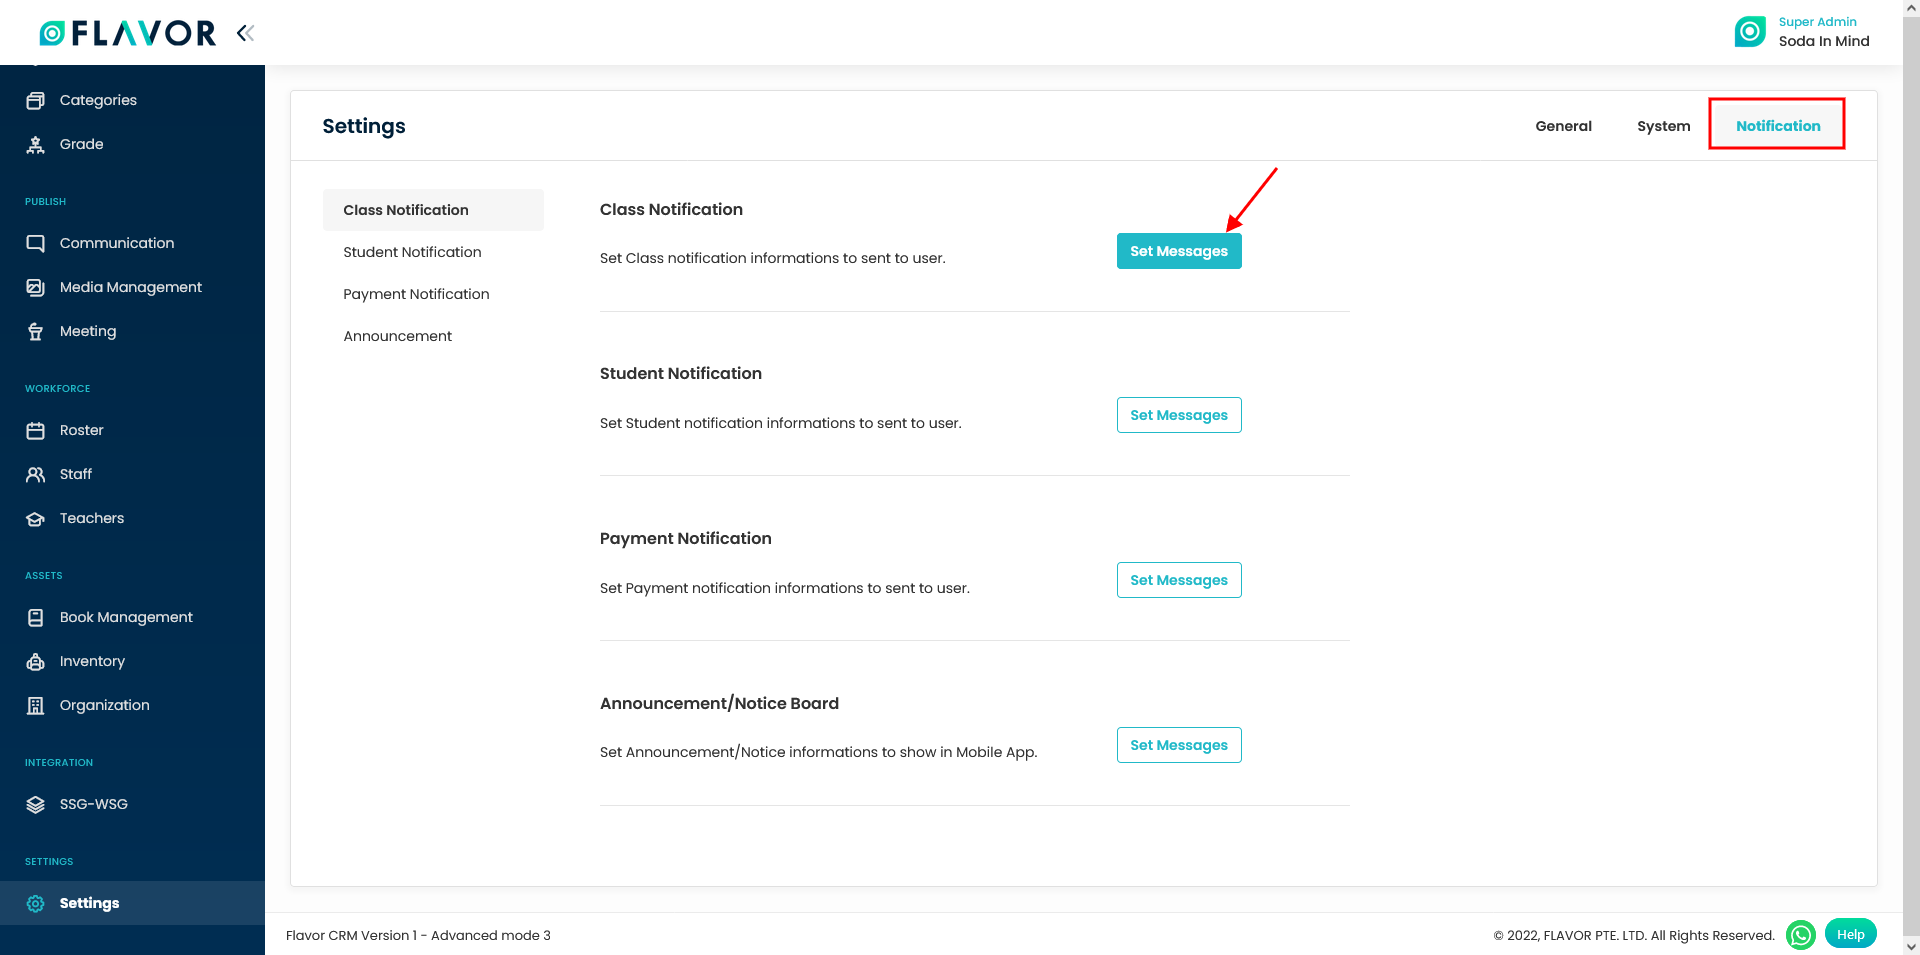
- Go to the Settings from the left-side menu of the Flavor System.
- Under the Notification Tab, click on Set Messages against Class Notification.
Step 2
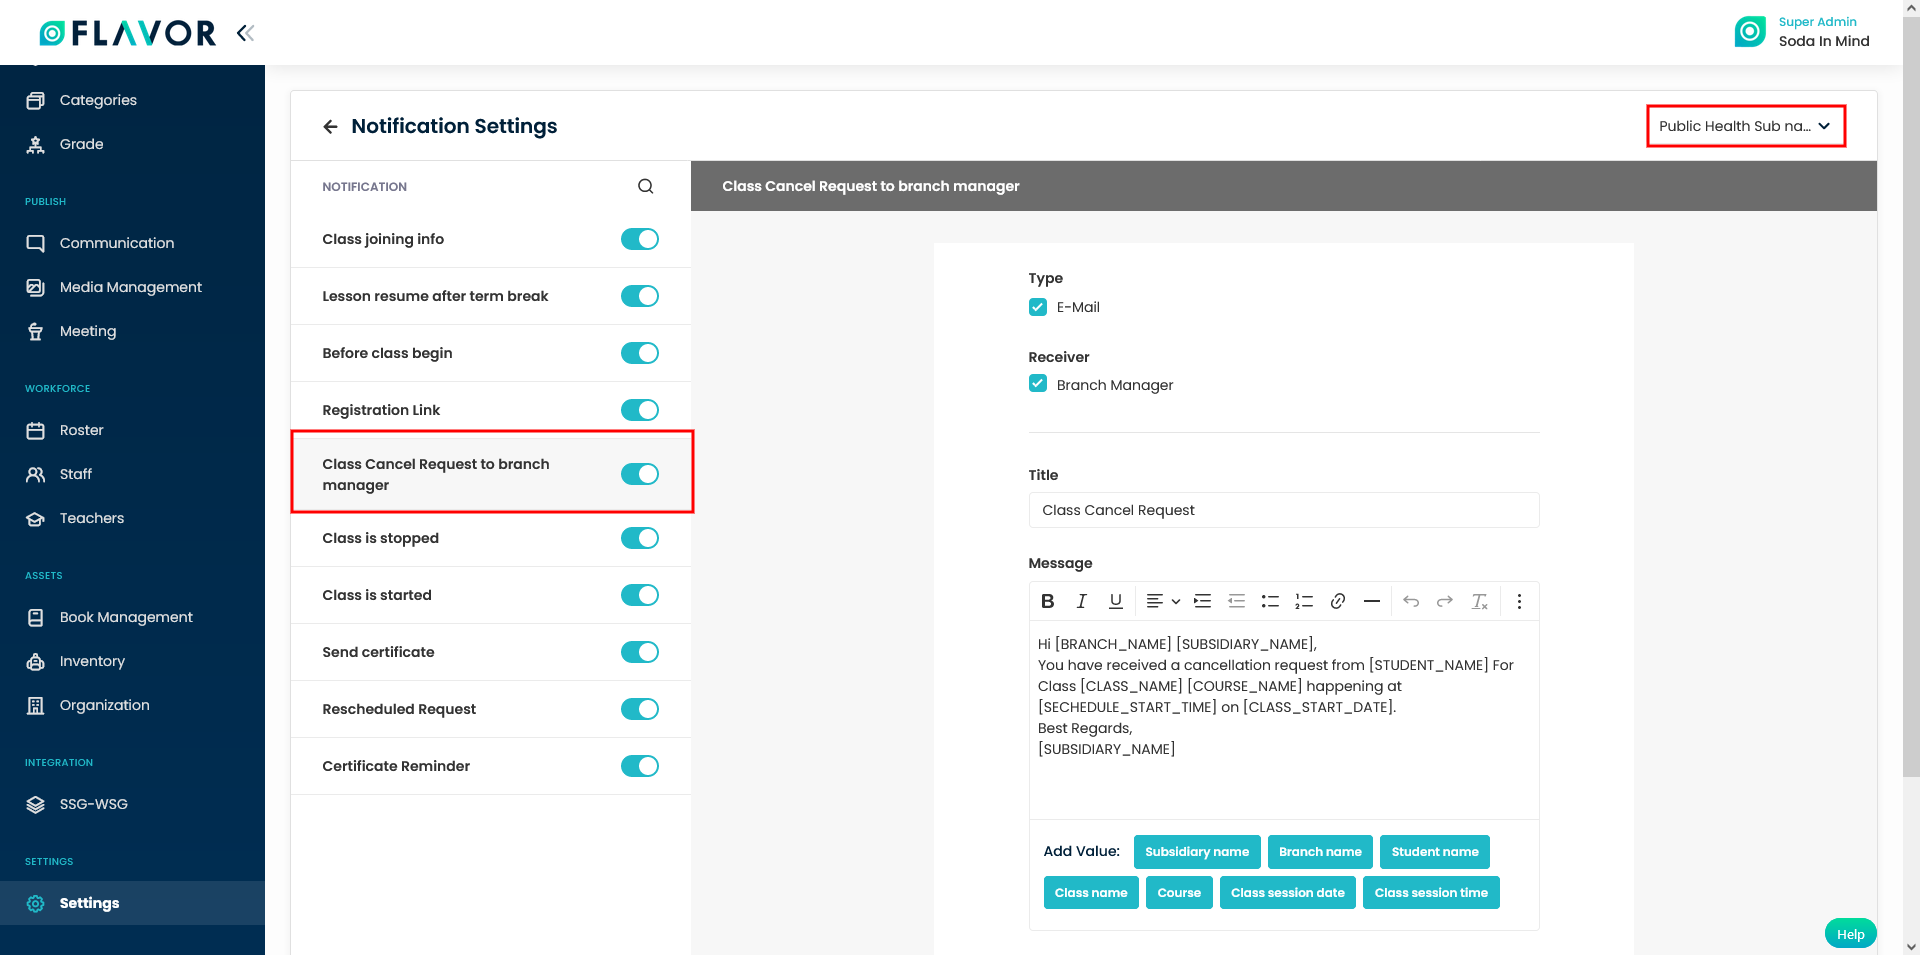
- It will navigate you to the Notification Settings page.
- On the right hand side select the Subsidiary from the dropdown. It means the settings ahs been done for that specific Subsidiary.
- Scroll down and enable the switch for Class Cancel Request to branch manager.
- On the right hand side, select the Type and Receiver.
- Set the Title and Message Template.
- Click on Save Notification button.
Step 3
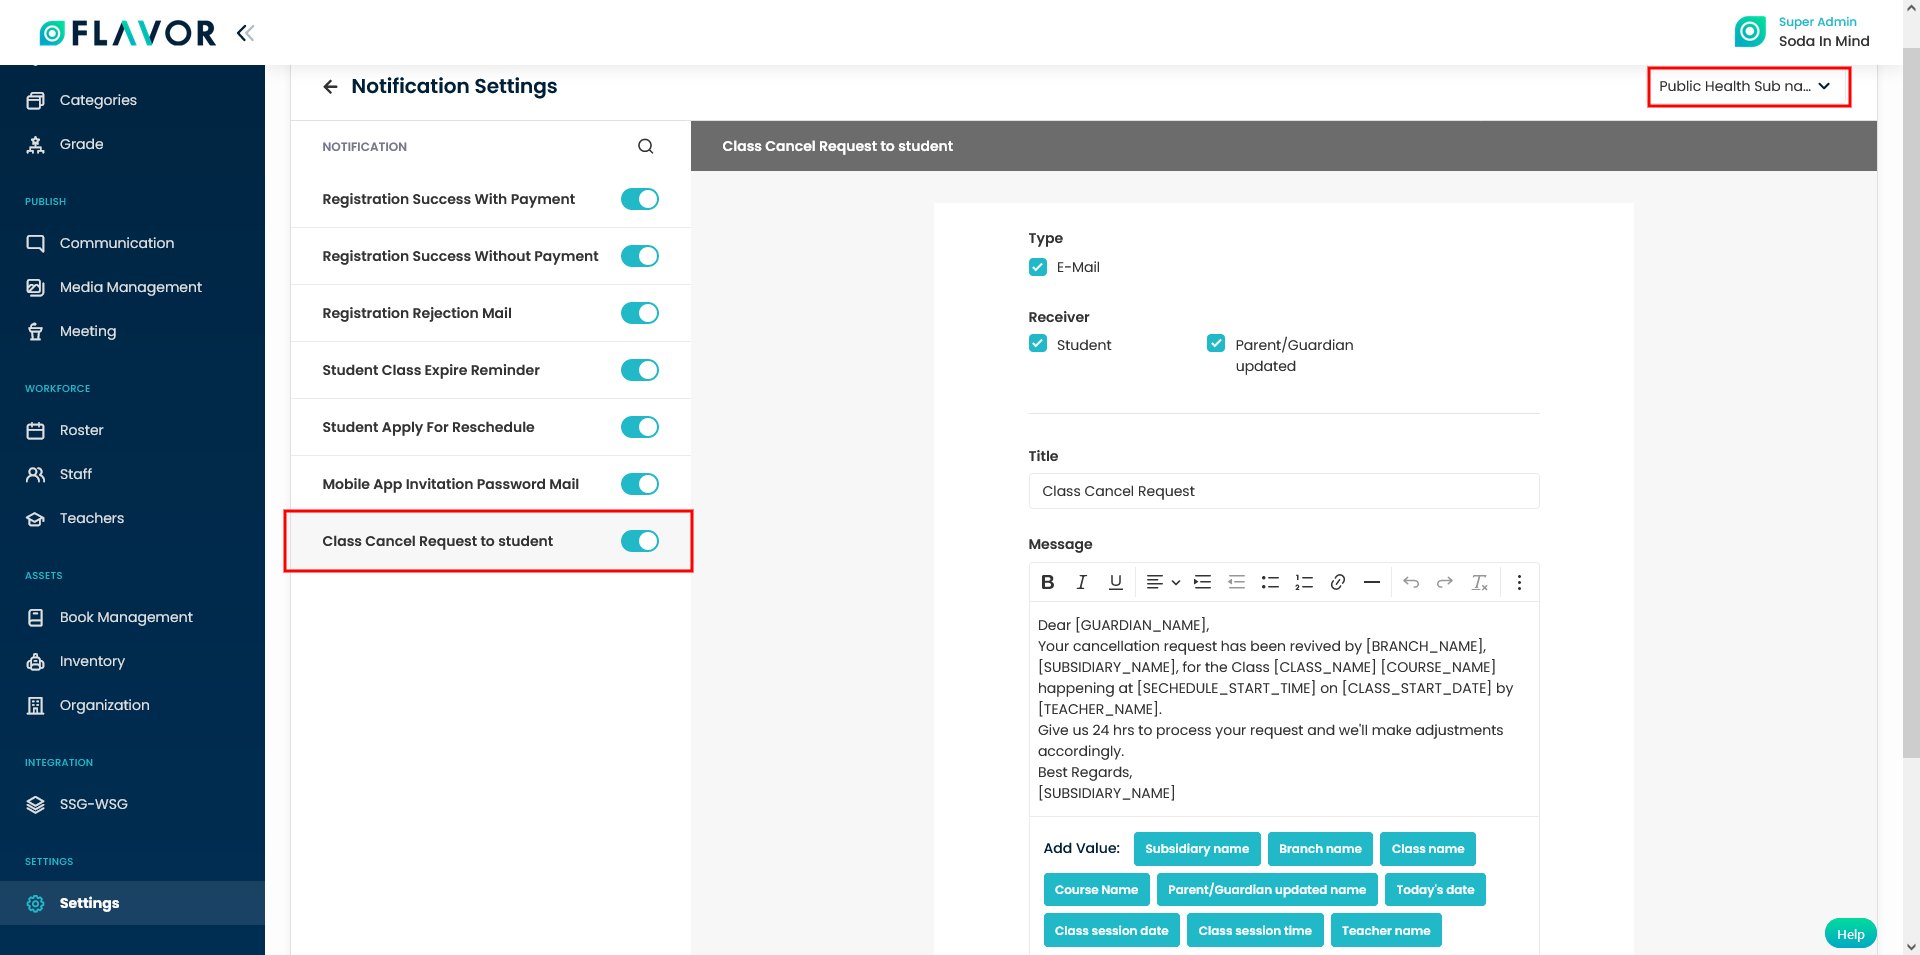
- Again to set the template for Student Notification, on the Settings page under the Notification tab, click on Set Messages button against the Student Notification.
- On the Notification settings page, scroll down and click and enable the Class Cancel Request to student switch.
- On the right hand side, select the Type and Receiver.
- Set the Title and Message Template.
- Click on Save Notification button.
Need more help? Ask us a question
Please let us know more of your details and our team will reach out to you very shortly.