
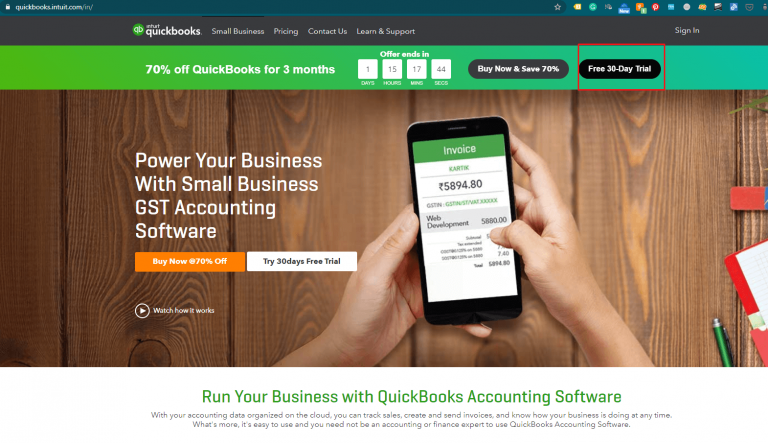
Step 1
Sign up over QuickBooks.
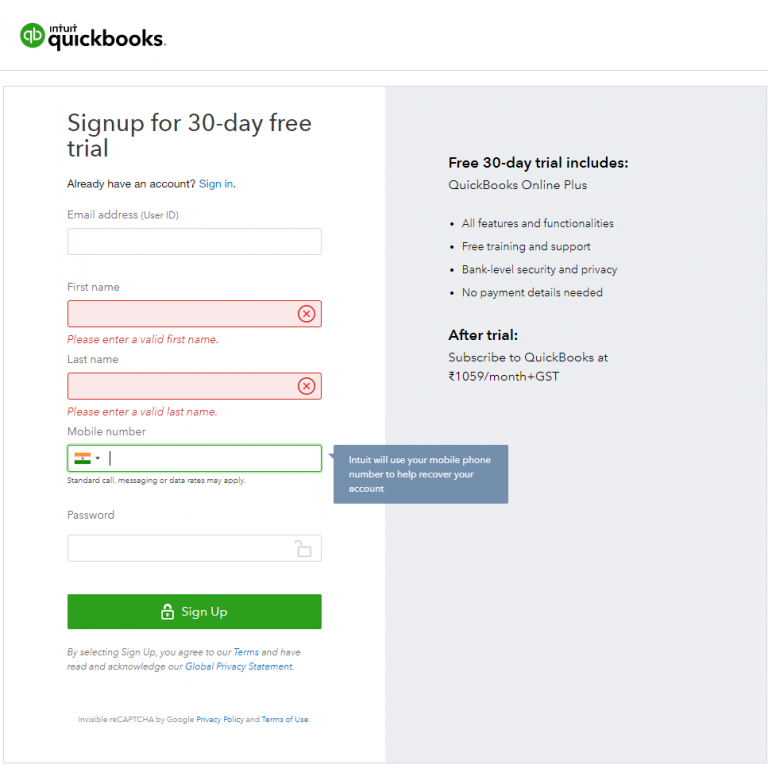
Step 2
Fill up the required fields to sign up.
Step 3
Then you must go through process of setting up your QuickBooks account.
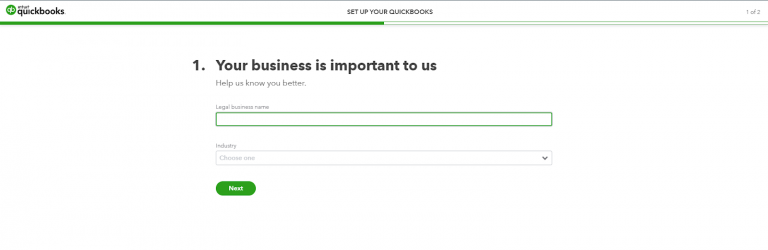
Step 4
State the purpose of using QuickBooks for your business.

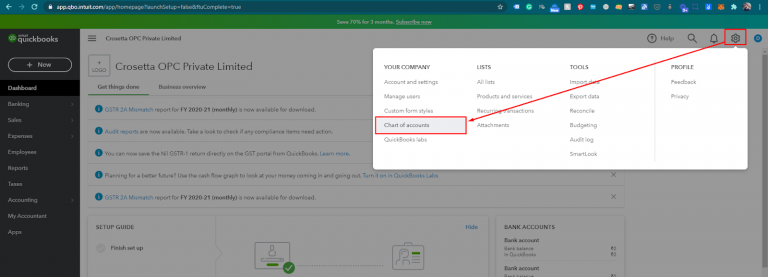
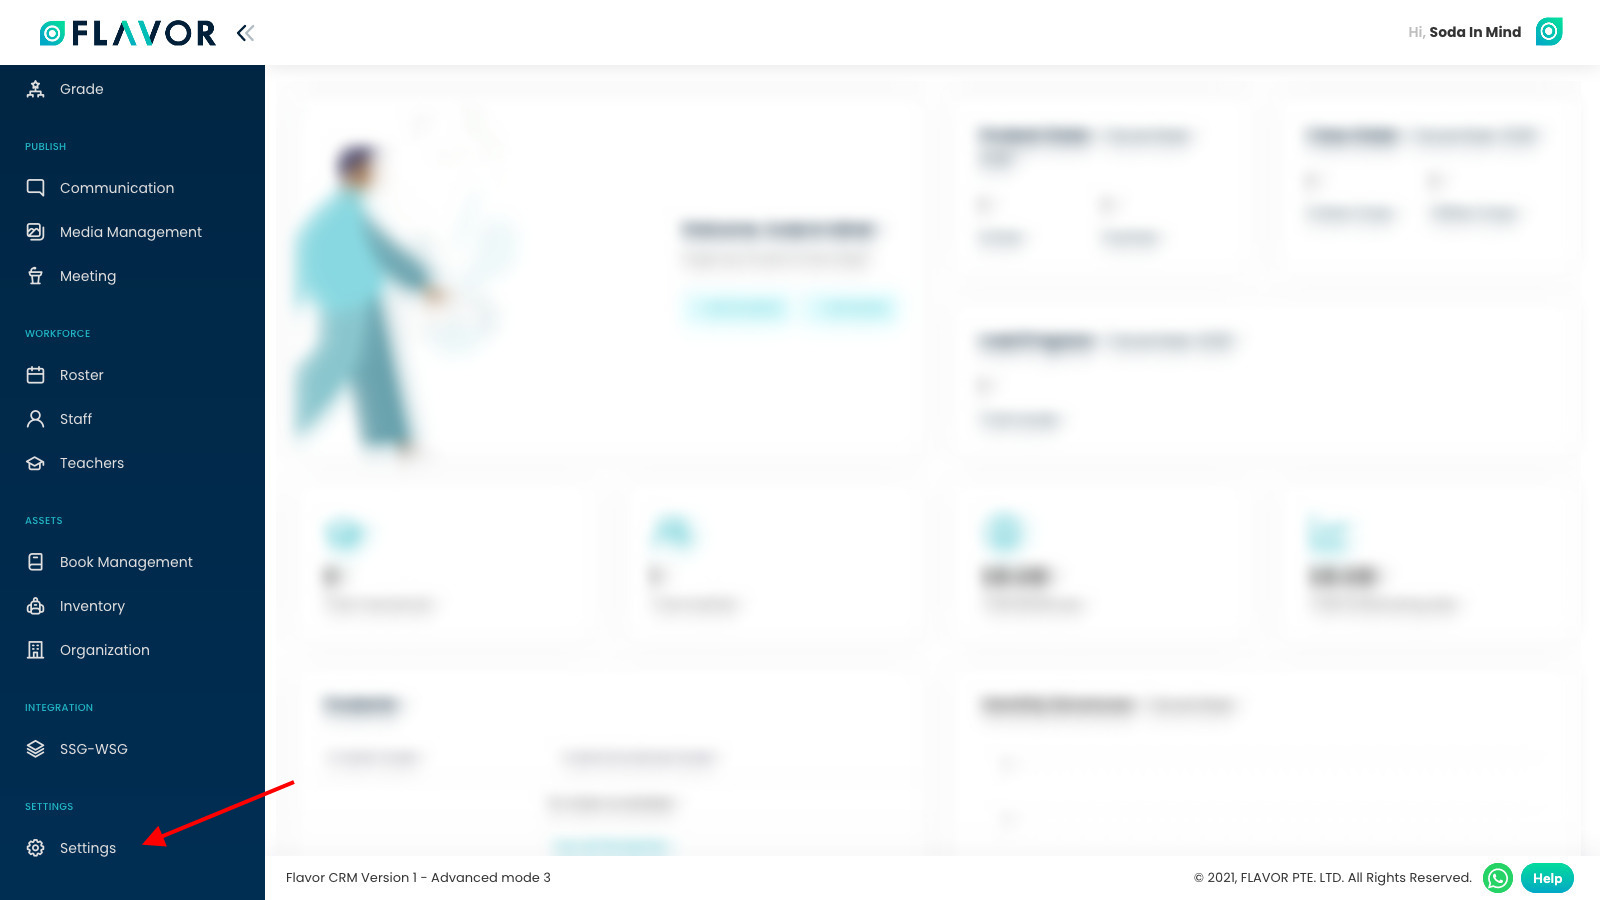
Step 5
Now you must go to Settings, Click on CHART OF ACCOUNTS.
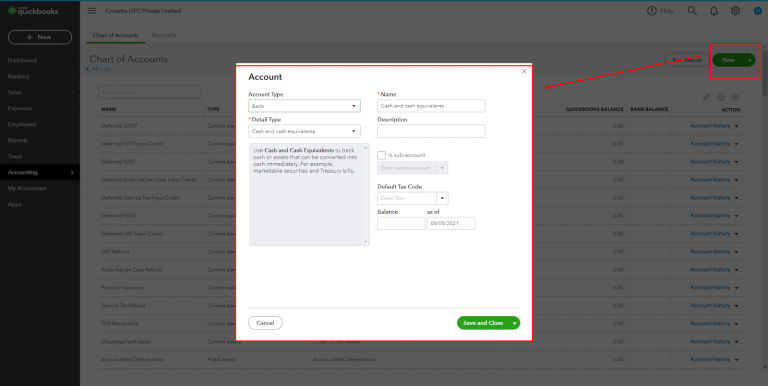
Step 6
Here you must click on NEW and add the new Chart of account. Make sure you update CHART OF ACCOUNTS for SALE, DEFERRED income & Deposit.
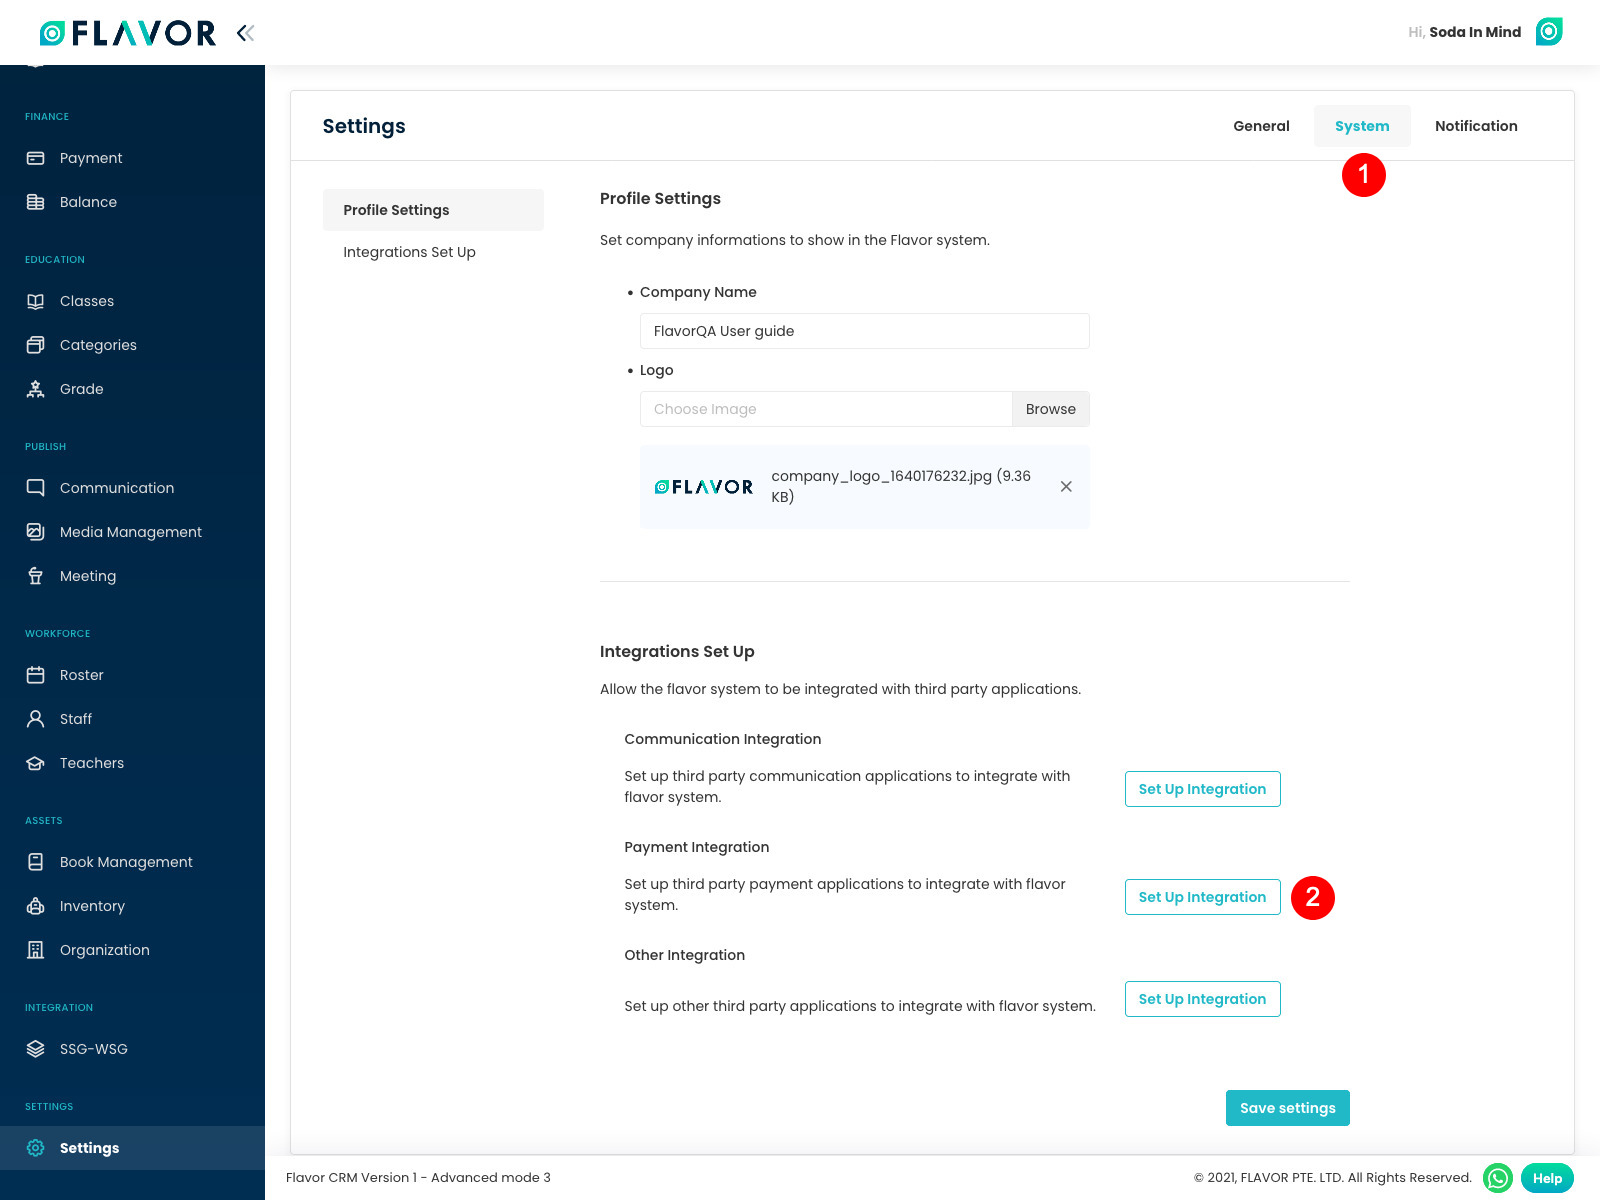
Step 8
Here, click on System and then click on Set Up Integration button in Payment Integration section.
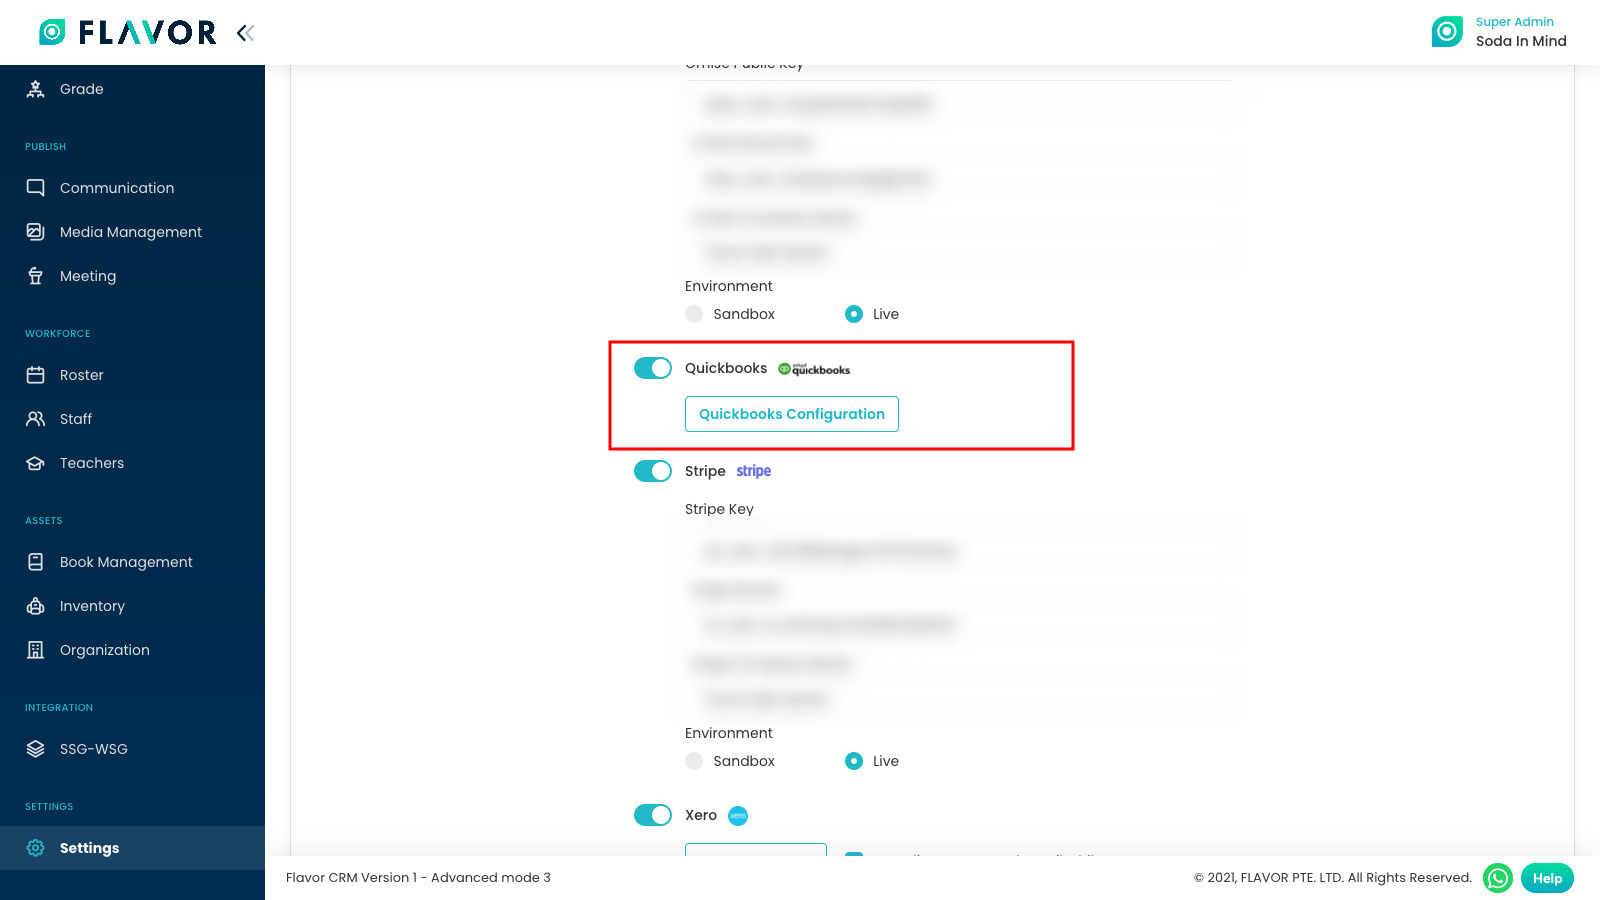
Step 7
In this window, scroll down to QuickBooks section and enable this section if needed. After that, click on QuickBooks Configuration button.
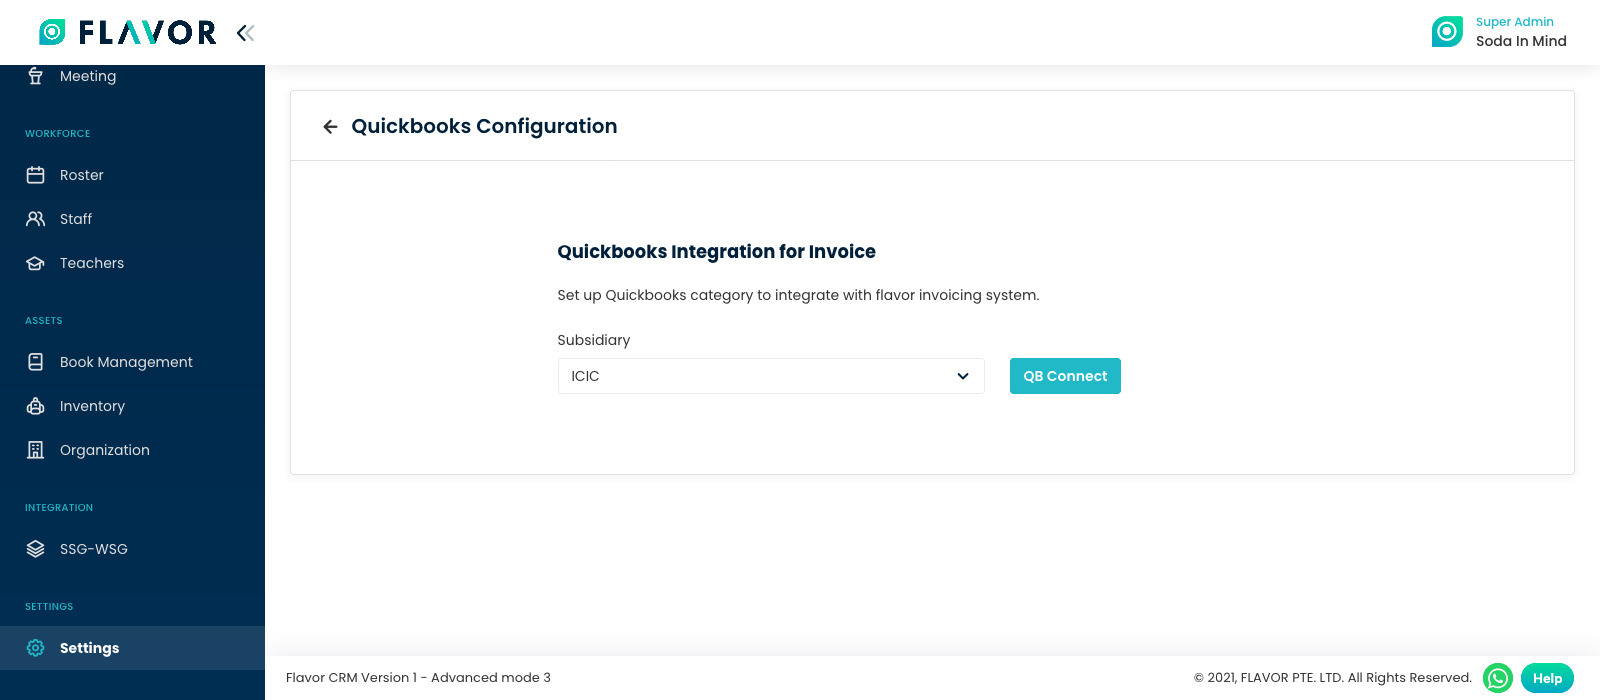
Step 8
Now you will be redirected to the Configuration page where you can see subsidiary dropdown. Whichever subsidiary you want to connect with QuickBooks, just select the subsidiary and click QB Connect button.
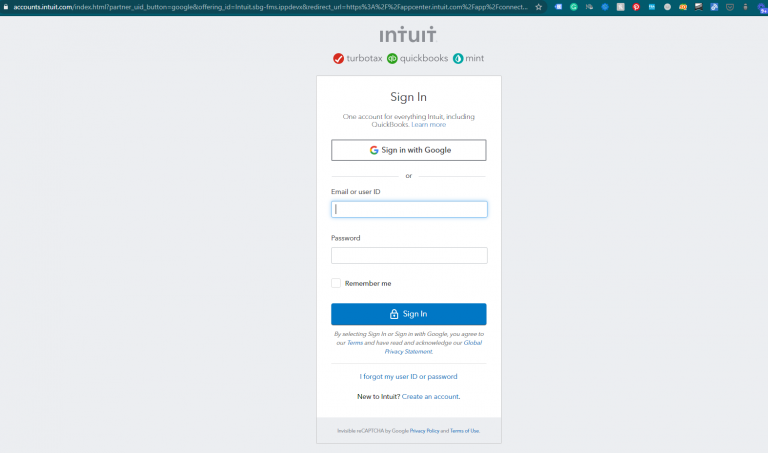
Step 9
After clicking on QB Connect, login via QuickBooks.
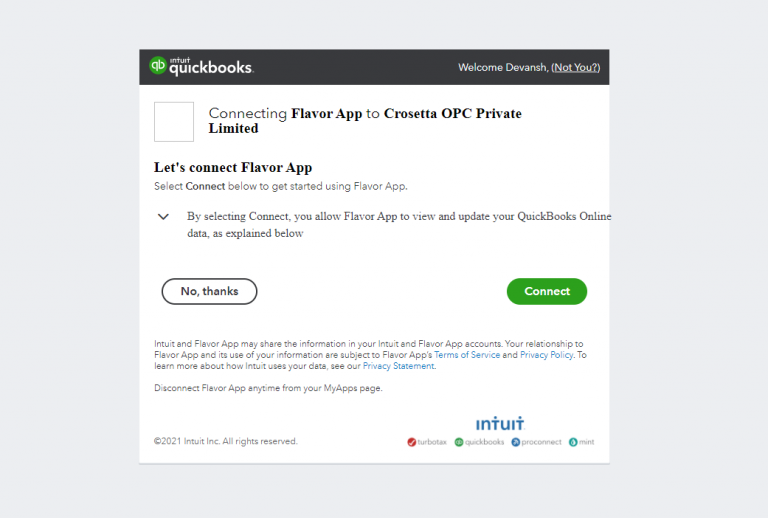
Step 10
Then select the organization that must be connect and click on connect button.
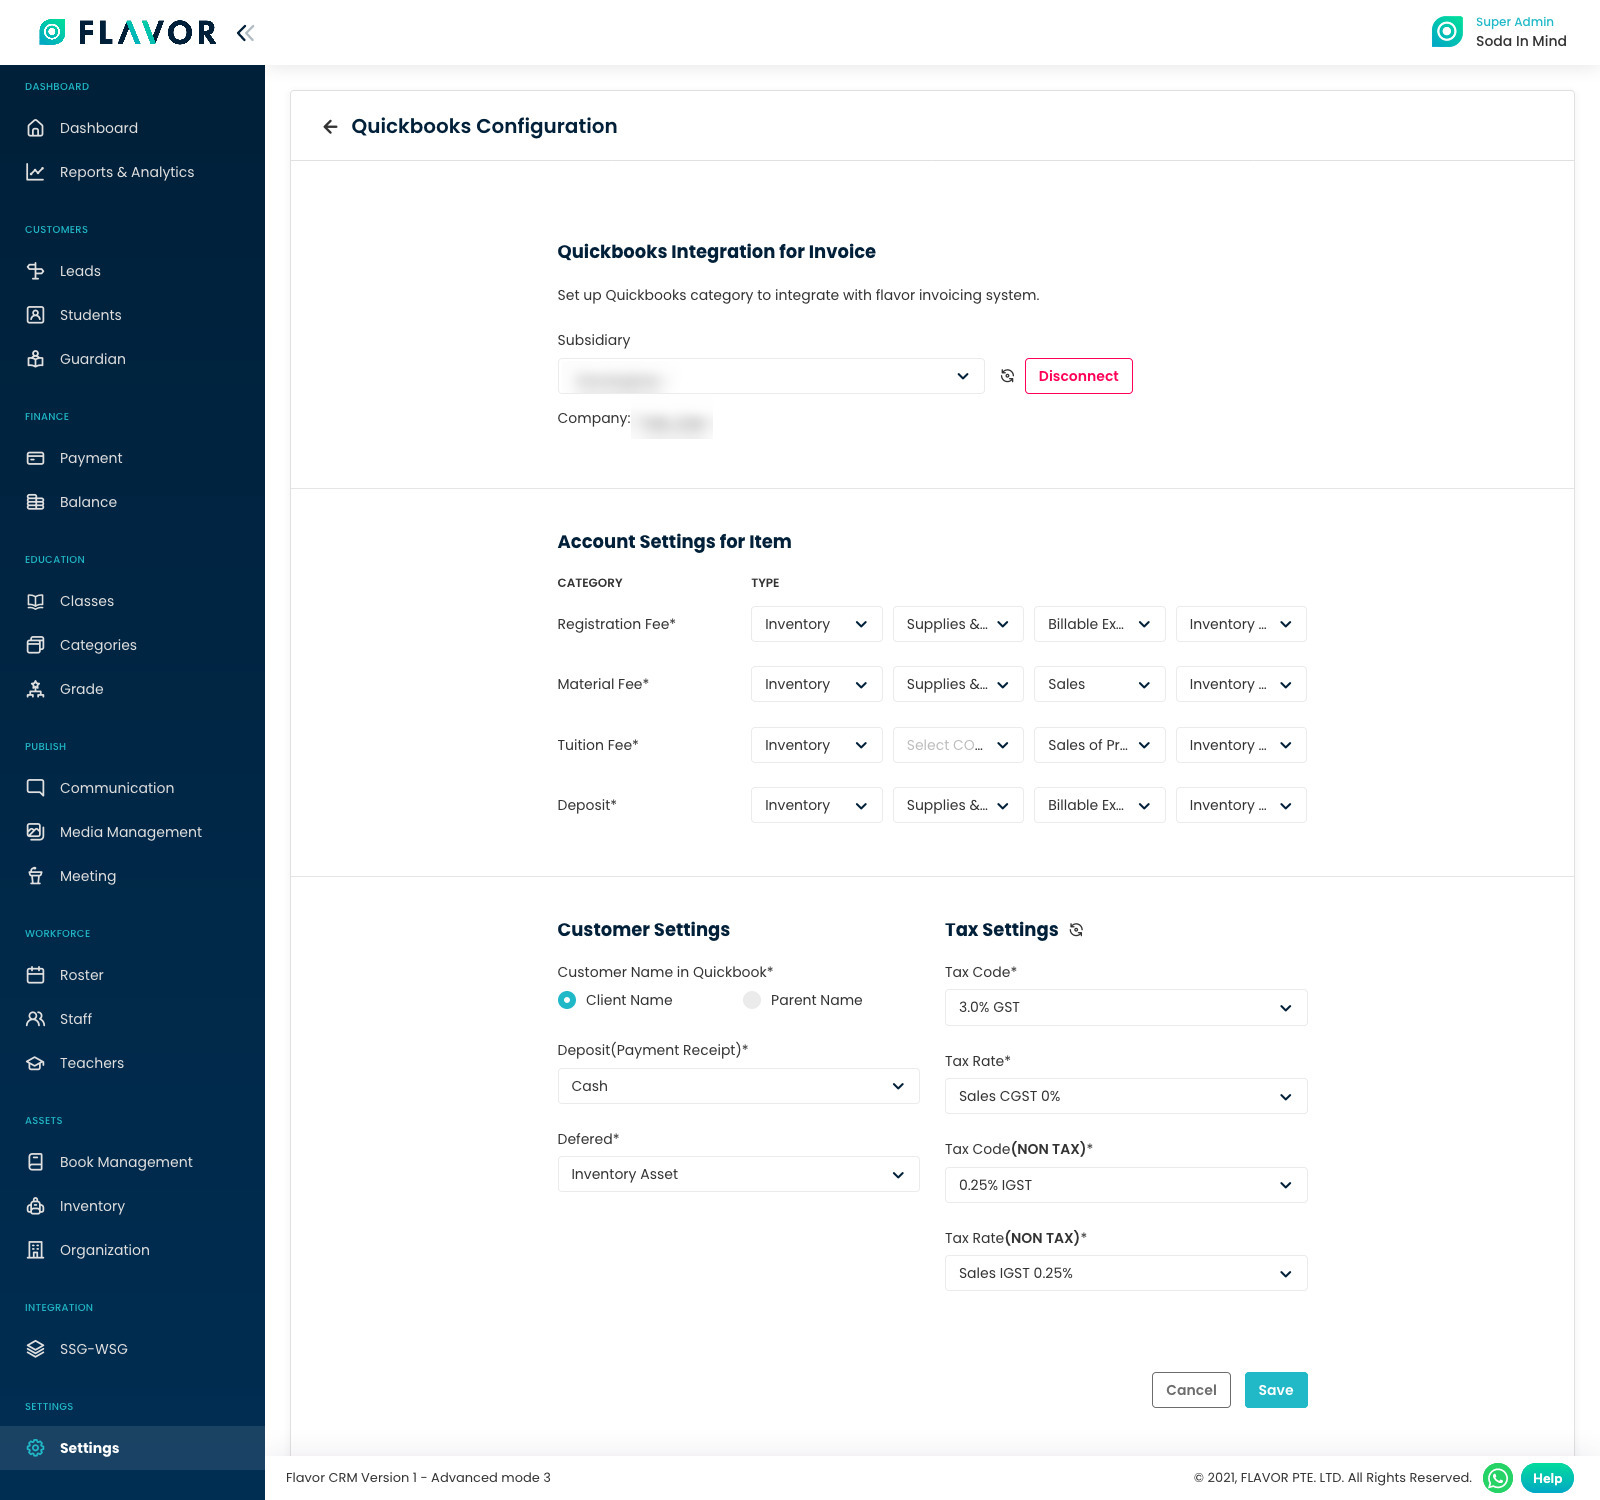
Step 11
Here, do QuickBooks configuration and click Save button.
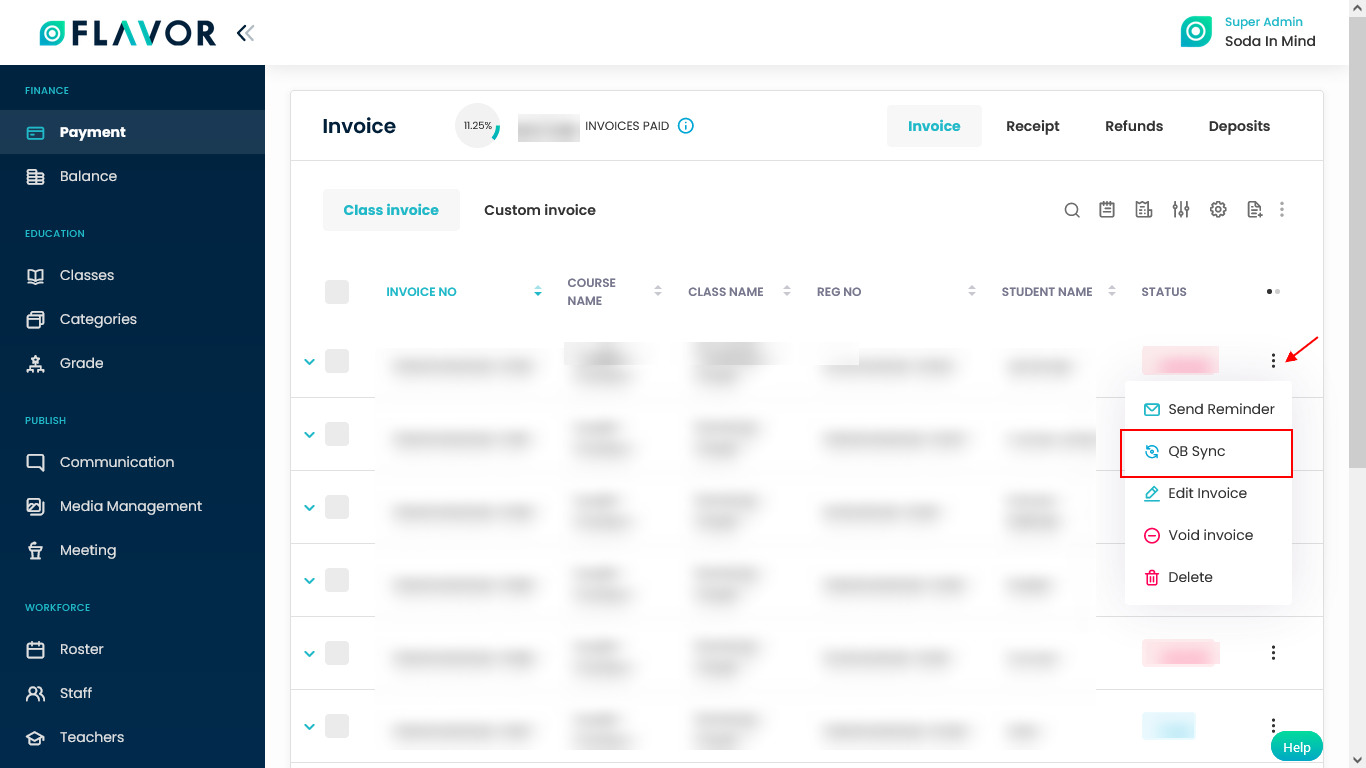
Step 12
For Single Invoice Sync:
Now, when you go to the Invoice make sure that you log in via the organisation account to which data must be synced.
- Go to Invoice by clicking on Payment on the left menu.
- Then click on the Action Button (3 vertical dots) of an invoice record.
- A popup with various options will be open.
- Click on QB Sync option.
- After clicking, a popup named Quick Book Sync will be open.
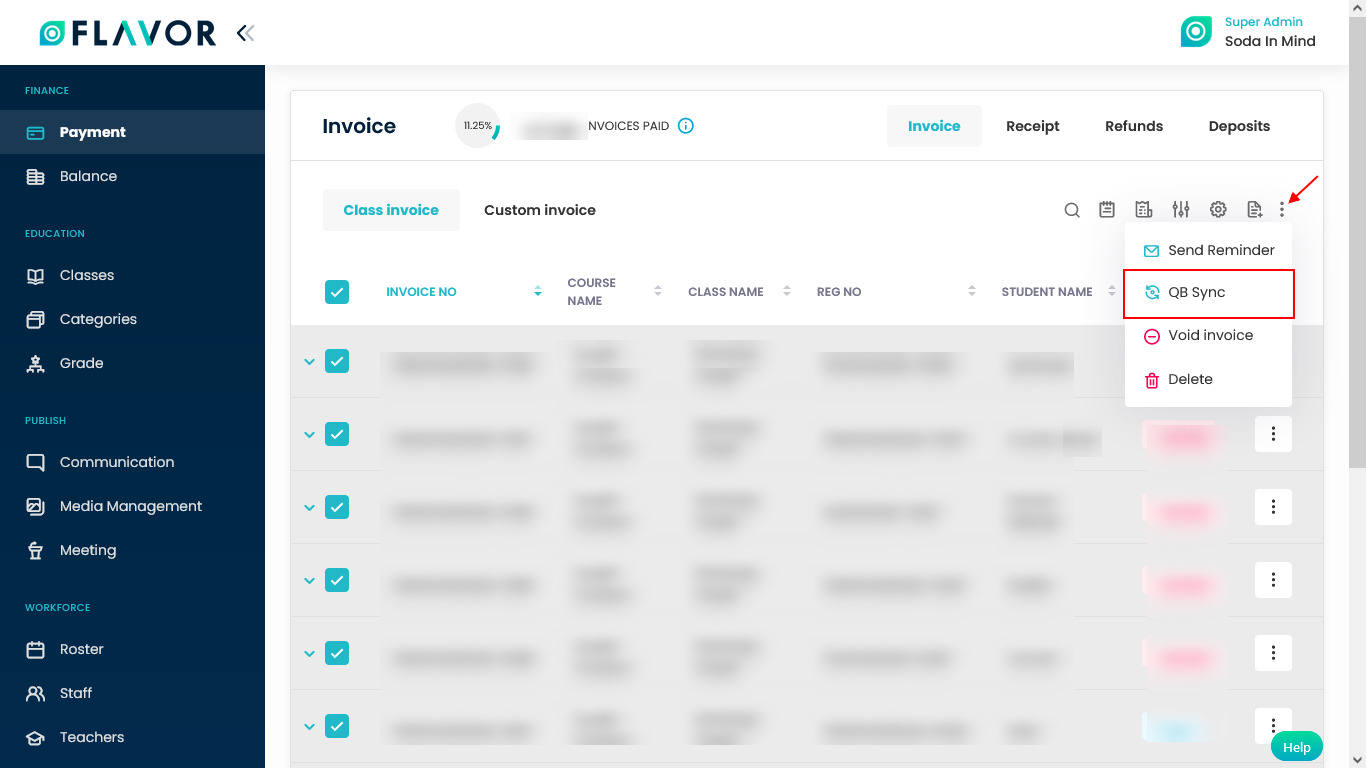
Step 13
For Bulk Invoice Sync:
- Go to Invoice by clicking on Payment on the left menu.
- Select all records and then click on the Bulk Action button.
- A popup with various options will be open.
- Click on QB Sync option.
- After clicking, a popup named Quick Book Sync will be open.
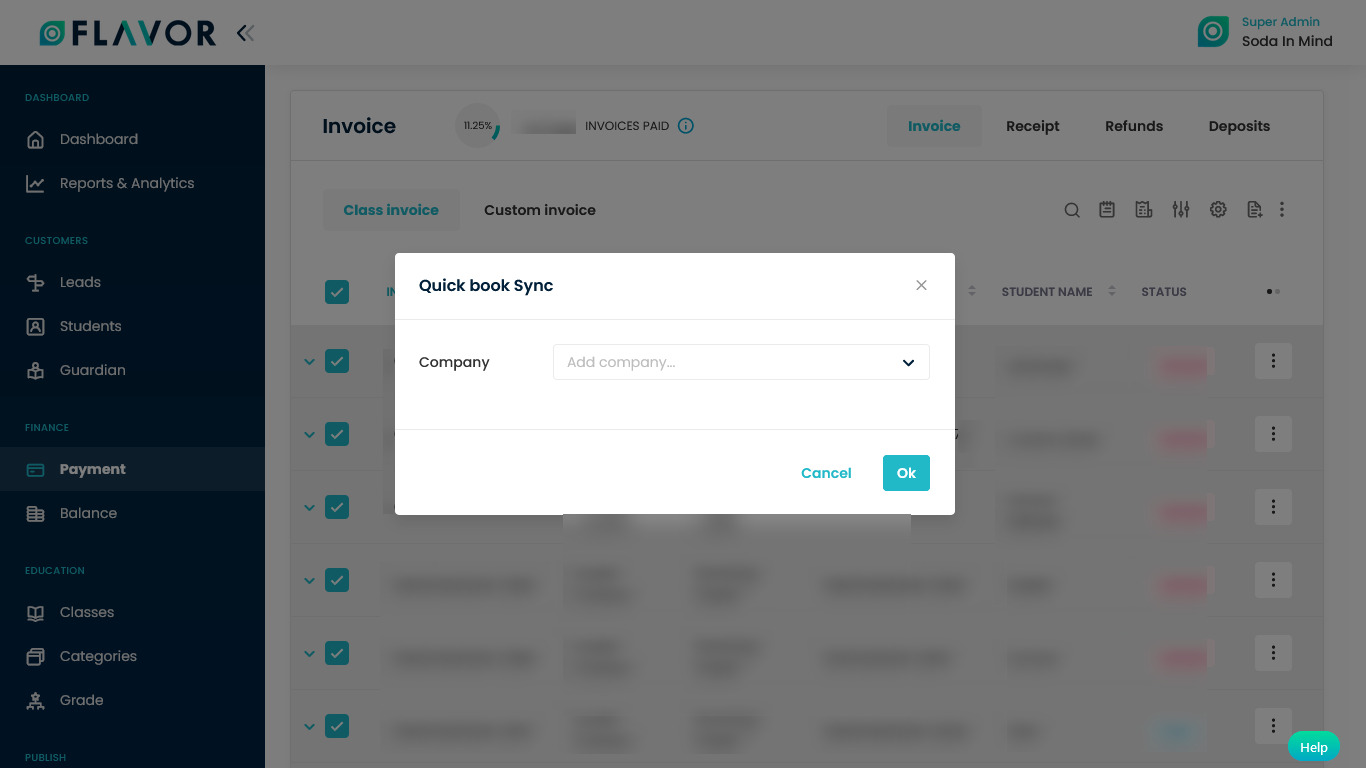
Step 14
Select company for Single Invoice & Bulk Invoices.
- Company: Select a company from the dropdown, which you want to sync with QuickBooks.
- Click on the OK button.
- After clicking, a confirmation popup will be open.
- Click on the Sync button.
- After the sync, a confirmation will appear on the screen.
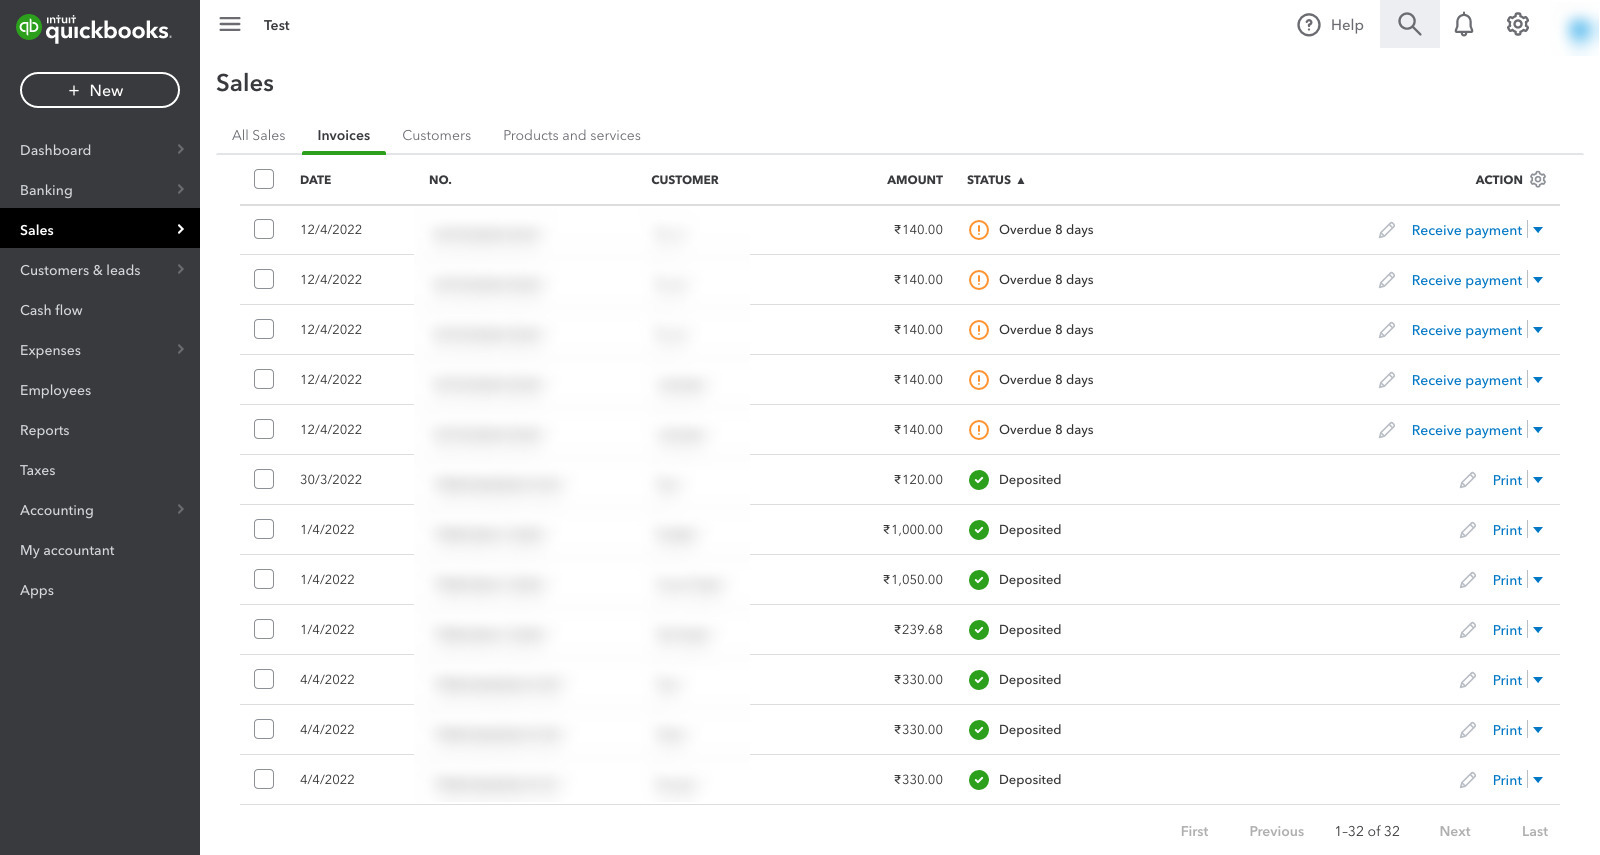
Step 15
In the QuickBooks account, the invoices will get synced and be shown in the listing.
Need more help? Ask us a question
Please let us know more of your details and our team will reach out to you very shortly.