
Step 1
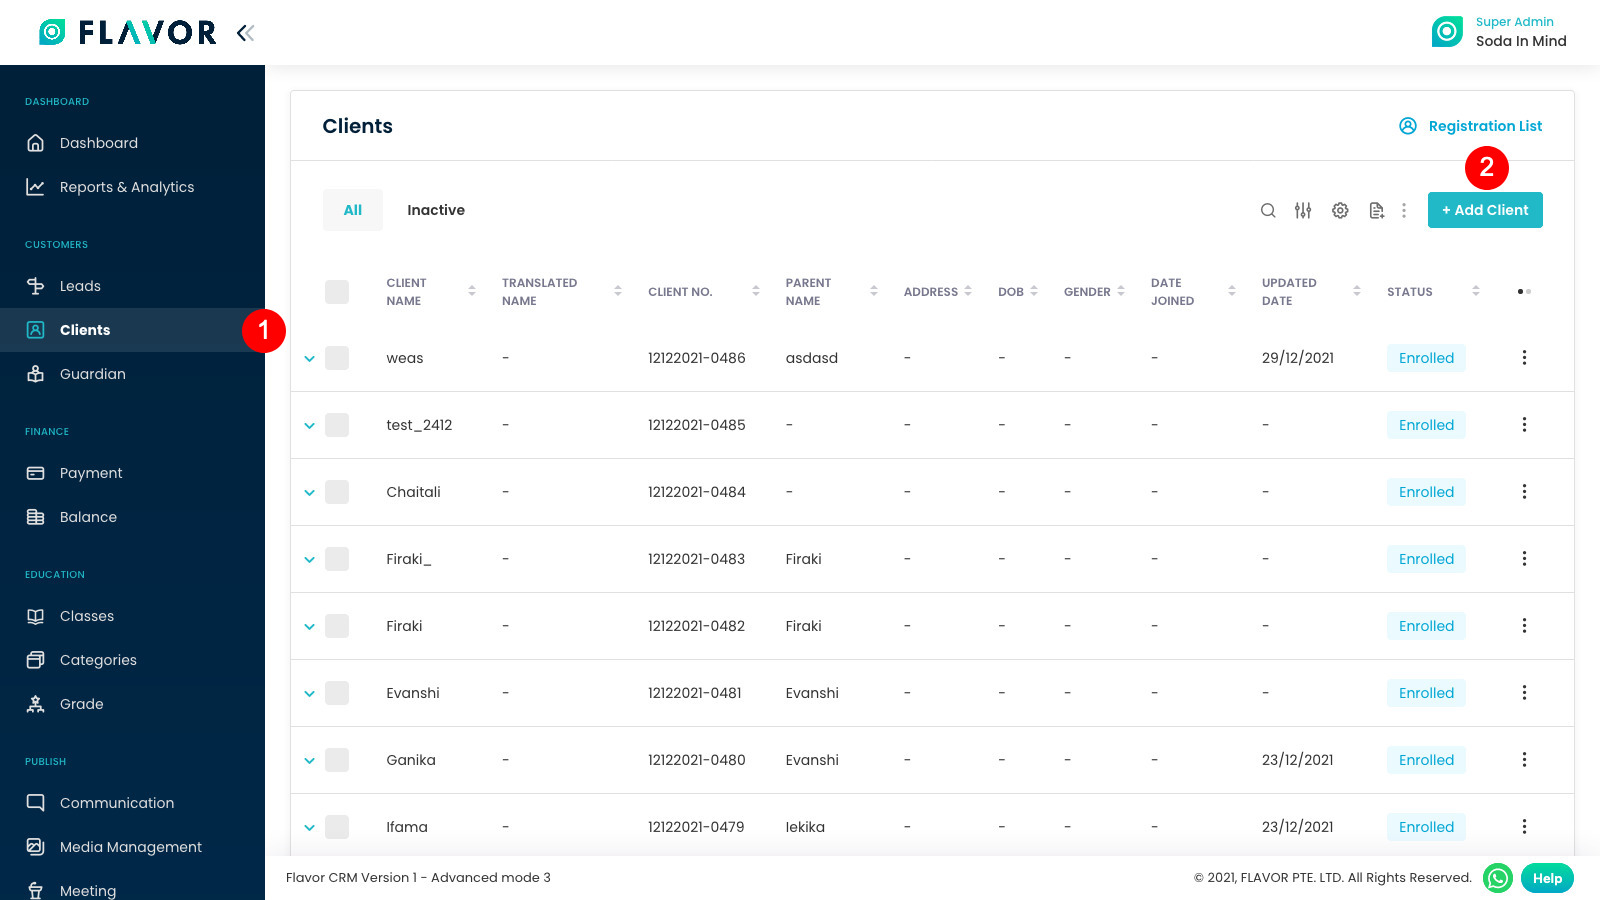
After login, the system will direct you to the dashboard page.
- From the left menu, click the Clients.
- And then click on Add Client.
Step 2
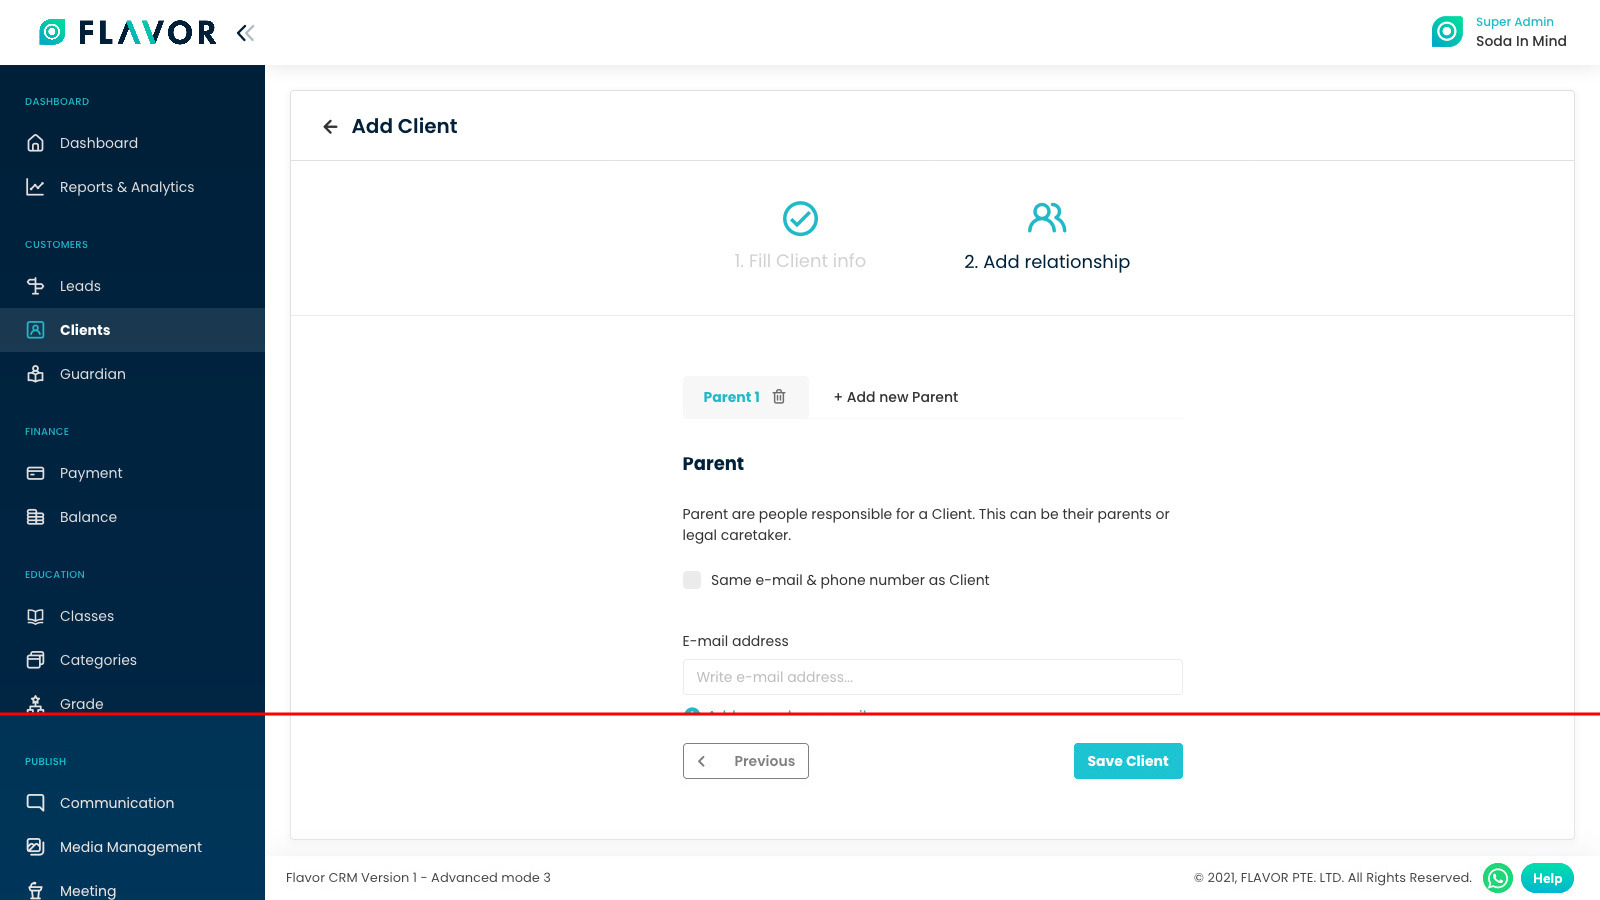
Fill subsidiary and branch fields as well as client name as a compulsory field and other data which you need to add.
After that click Next.

Step 3
Add Parent details, and then click on Save Client.
Need more help? Ask us a question
Please let us know more of your details and our team will reach out to you very shortly.