
Login to Flavor
If you are a user with admin rights, you will have the credentials to log in to the Flavor educational portal. You can check and manage all the education activities as given access and rights to you. You can check the students & class stats, lead progress, monthly revenue, Invoices details, teachers availability, schedule classes. On the left corner of the dashboard, you can see the list of all modules. From here, you will be able to access details of all activities, and manage everything.

Dashboard
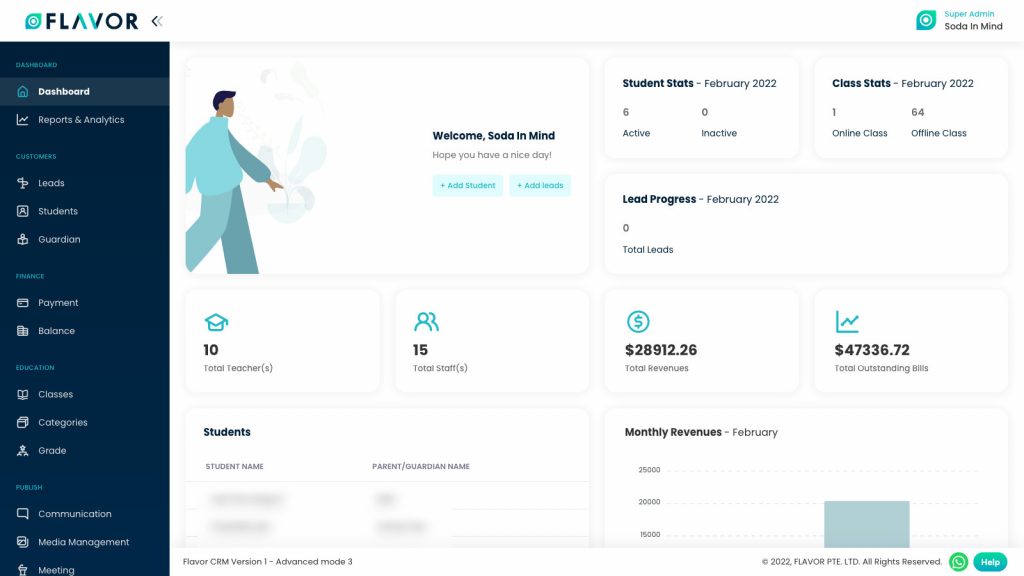
Once you log in to the “Flavor”, you will be navigated to the static dashboard from where you can see different statistics in the data card. From the left side, you can see the navigation panel of the different modules of the Flavor educational portal.
Note: Once the admin users log in, before redirecting the dashboard, they will see any updates related to versions, release notes, or any information in the popup message if any.
- From the Dashboard, you will see an overview of all ongoing activities & progress. You can check all the education activities & updates in the form of graphs and counters.
- You will see the following statistics, data cards, and charts:
- Quick Actions: Add Student and Add Leads
- Stats (Counters): Students and Class
- Lead Progress: Current Month
- Data Counters: Total Teacher(s), Total Staff(s), Total Revenues, and Total Outstanding Bills
- Students: Listing view (most recently added)
- Monthly Revenues: Column Chart (current month)
- Classes: Pie Chart (current month)
- Outstanding Invoices: Grid View (current month)
- Trial Students: Line charts (current month)
- Teachers Availability
- Scheduled class on the calendar view
- Active Classes
Quick Actions
From the welcome data card (starting of the dashboard), you will see the two quick actions to add the records just by one click:
Add Student
You can add the new student directly from the dashboard by clicking on the + Add Student button. By clicking on the “+ Add Student” button, you will be redirected to the “Add Student” page to insert the new student with the relevant information.
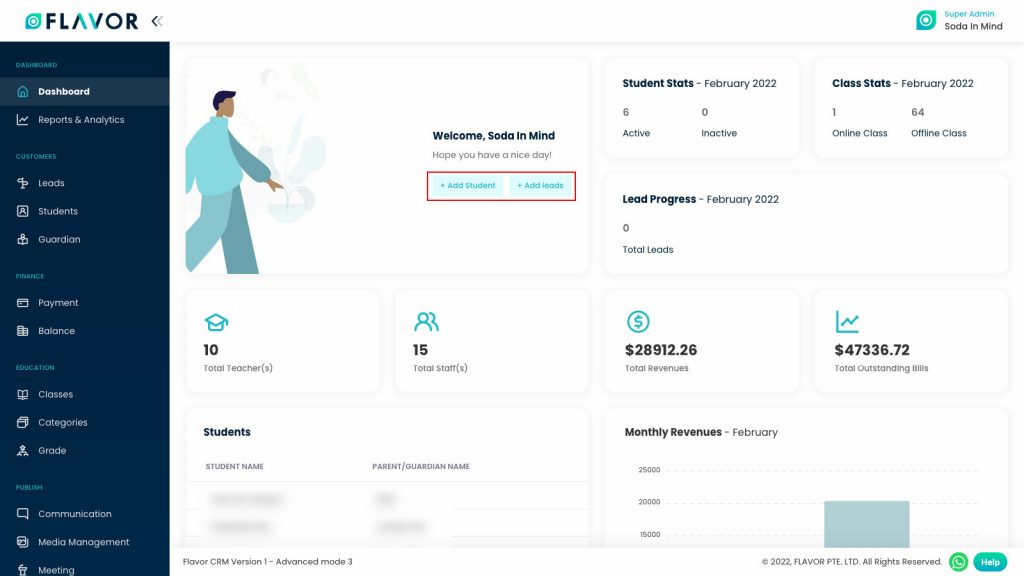
Add Leads
You can add the new lead directly from the dashboard by clicking on the + Add Leads button. By clicking on the “+ Add Leads” button, you will be redirected to the list page of the Leads where you can check the existing list of the leads and add a new lead.
Stats (Counters)
Besides the welcome card, you can see the following two counters of the current month:
Student Stats
You will see the counters of the “Active” and “Inactive” students individually for the current month.
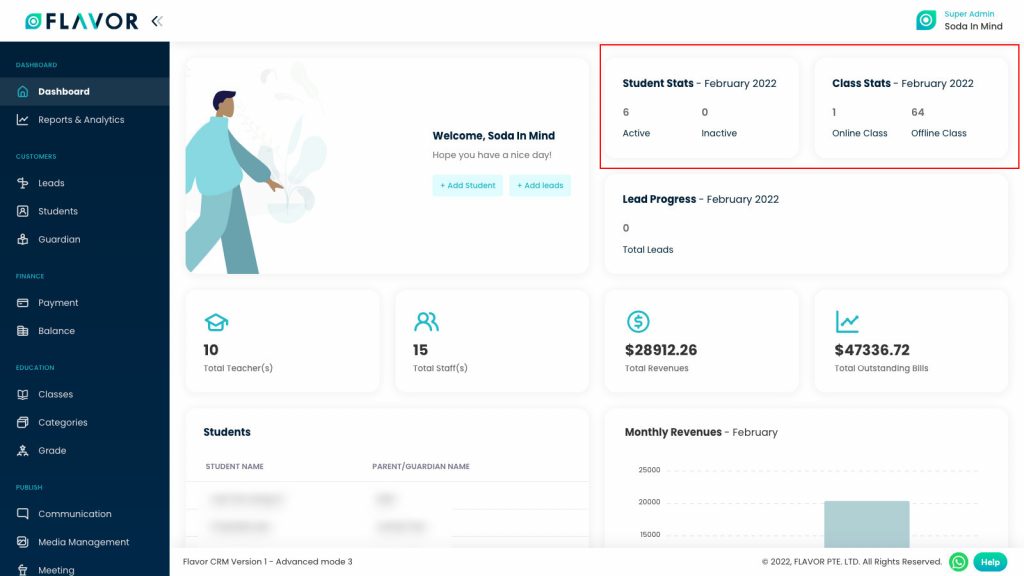
Class Stats
Here you can see the stats of how many online-offline classes have been scheduled.
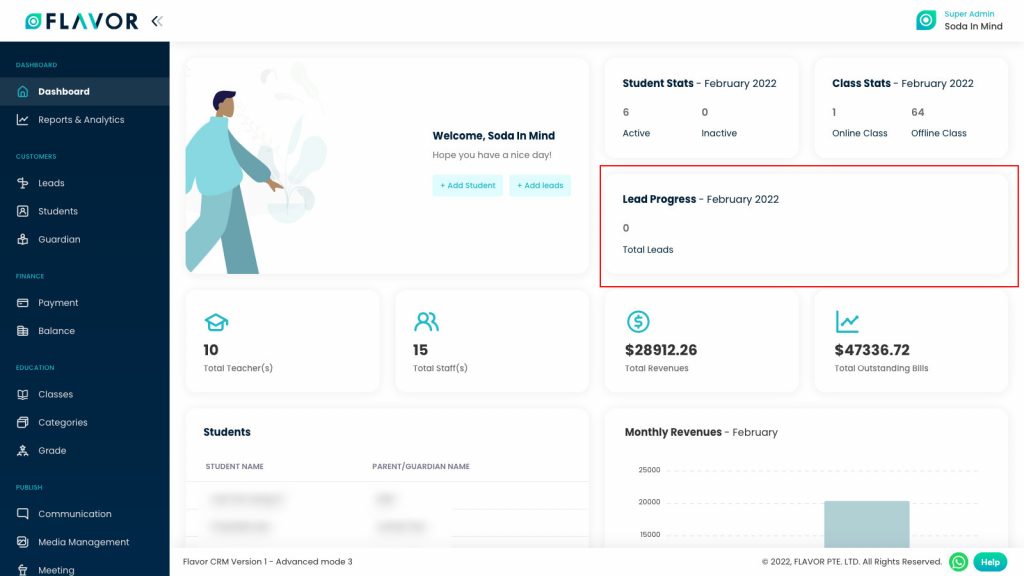
Lead Progress
You can check the number of New Lead and Total Leads in the Lead Progress data counter for the current month.
Data Cards
- You will see the counters for the following data:
- Total Teachers: It displays the total number of teachers.
- Total Staffs: It displays the total number of staff.
- Total Revenues: It displays the earnings from the sales.
- Total Outstanding Bills: It displays the amount of the bills that have not yet been paid.

Students
You will see the recently added students details in the tabular format that includes two columns named STUDENT NAME and PARENT/GUARDIAN NAME.
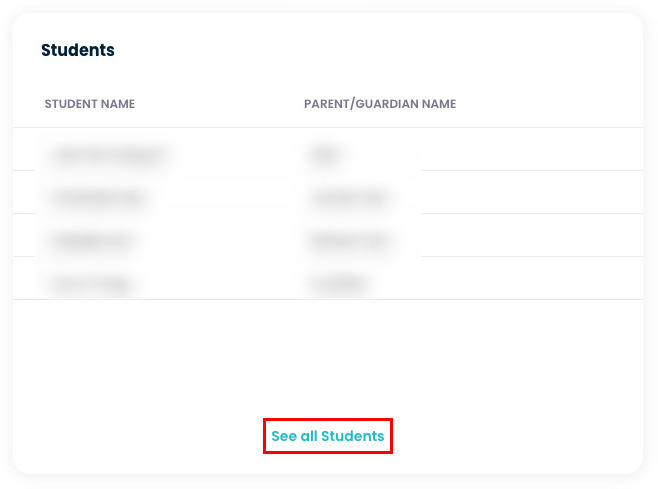
You can see all the students by clicking on the See all Students link. By clicking on the “See all Students” link, you will be redirected to the Students page from where you can see the listing of students and you can add a new student.
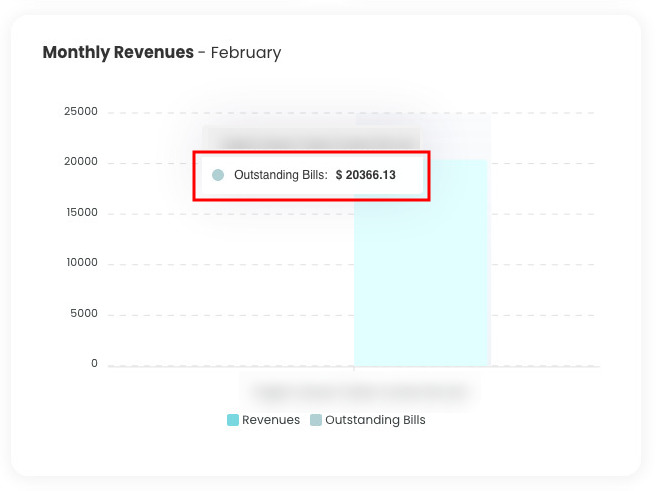
Monthly Revenues
You will see the monthly revenues (current month) in the Column Chart view. You will see the two-column charts, one for Revenues and another for Outstanding Bills.
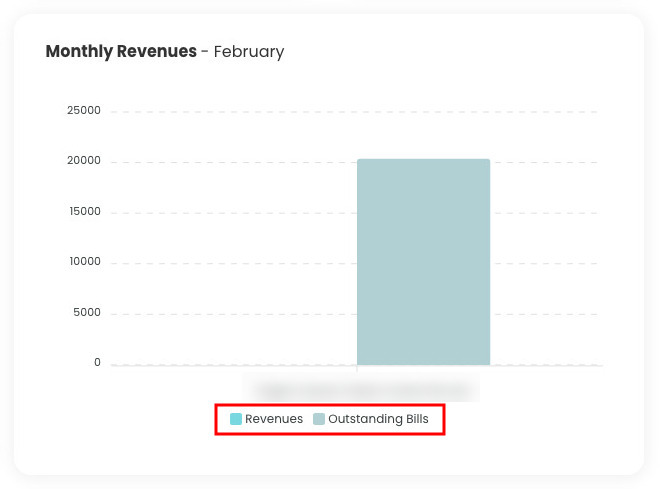
By hovering the mouse cursor on any column chart, you will get the amount details as a tooltip.
Classes
You can see the different statuses of the classes with the total counts in the pie chart view. The pie chart view displays the data of the current month. The different statuses of the class are Ongoing, Upcoming, Rescheduled, Stopped, and Ended. These 5 statuses are divided into radial slices in a circle.
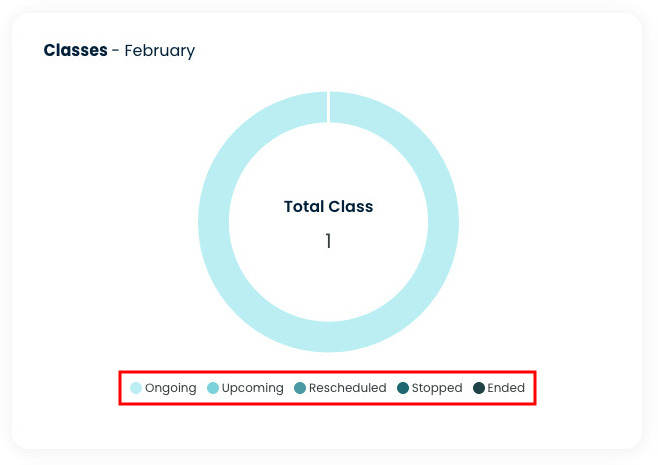
- By hovering the mouse cursor on the slides of the circle, you will get the details of the class as a tooltip.
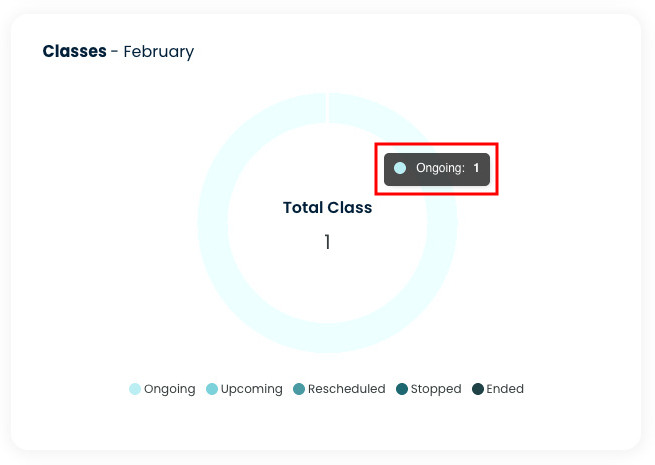
Note: You will see only those classes in the pie chart view that are added. If there’s no class it will be considered as 0 and it will not appear.
Outstanding Invoices
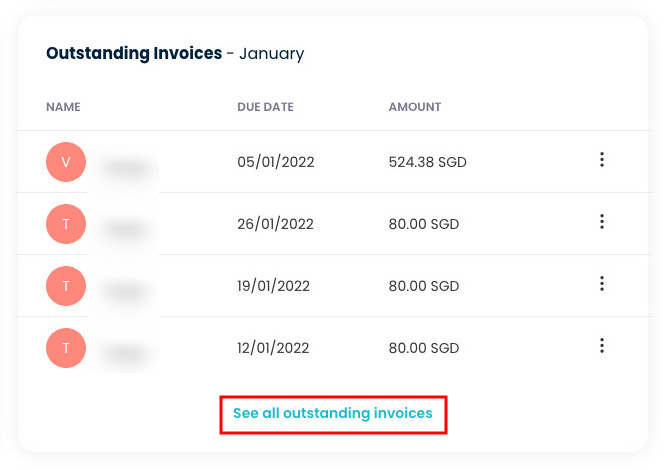
You will see the outstanding invoices in the tabular format. You can see the name of the student, the due date, and due amount details in the grid view. You can perform some actions for the individual unpaid invoices and navigate to the listing page of the invoices.
Actions
- At the end of the record, you will see the ‘ellipsis’ (option) icon. These are the short-cut actions that you can perform for the individual outstanding invoice records.
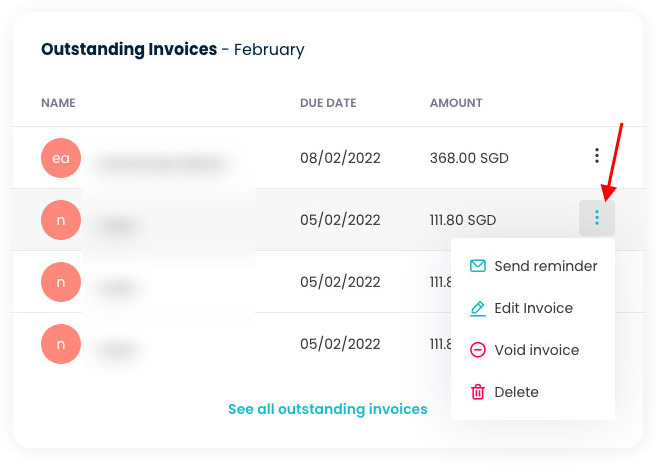
By clicking on the ‘actions’ icon, you will find the following four options: Send Reminder, Edit Invoice, Void invoice, and Delete.
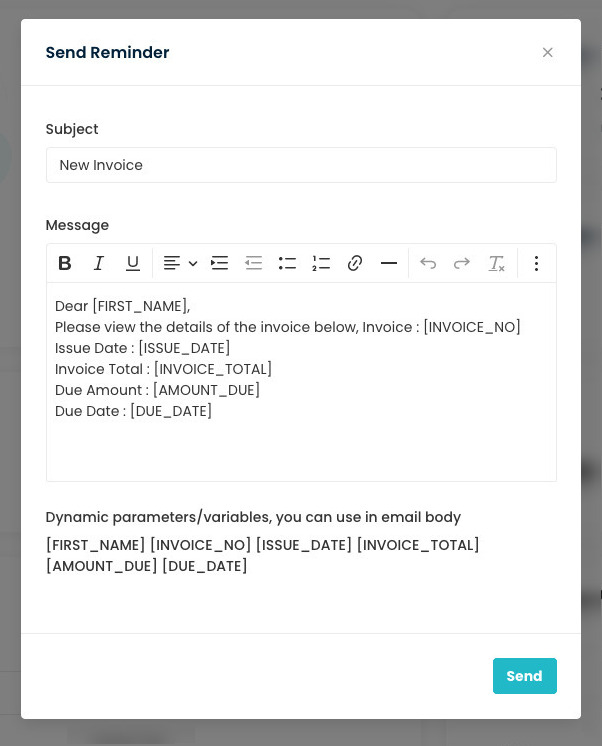
Send Reminder
By clicking on the “Send Reminder” action, you will get the popup named Send Reminder. You will be needing to insert the “Subject” and “Message”. You can use the dynamic parameter/variables for the descriptive message (email body).
Edit Invoice
This is the quick action to edit the invoice from the dashboard. By clicking on the “Edit Invoice”, you will be redirected Edit Invoice page to edit the invoice details.
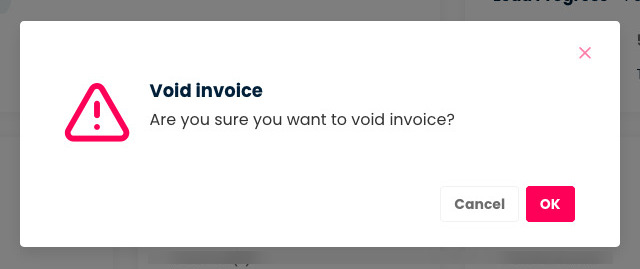
Void Invoice
If there’s some update in the invoice and you want to stop the payment, you can void the invoice. Voided invoices will not be removed from the invoices.
Delete
It will delete the invoice and it will also be reflected in the amount of the outstanding bills.
So, the admin users can easily perform the required actions for unpaid invoices from the dashboard.
See all outstanding invoices.
You will get the quick action link to navigate to the listing page of the outstanding invoices at the end of the grid view.
By clicking on the “See all outstanding invoices” link, admin users will be redirected to the listing page of the invoices (Finance → Payment).
Teachers Availability
You can easily get the availability of the teachers from the dashboard. You will find who is available In Class, On Leave, or Idle.

You can check the teacher’s full name as a tooltip view by hovering the mouse cursor over the short form of the teacher’s name.
Scheduled class on Calendar View
You can see all the scheduled classes in the calendar view. If any teacher is on the leave, you can also see that on the calendar view as Leave in red highlight on the specific date. So, you can see all the classes and teachers’ leave(s) on the calendar month-wise.
- You will see the scheduled classes on the calendar in the Month, Week, Day, and List view.
- By clicking on any schedule class label on the calendar, you will see the class details in the popup.
- You will see the details about the course, class, scheduled date & time, and teacher’s name from the popup. So, being a super admin of the Flavor educational portal, you can quickly check from the calendar view instead of navigating to the Class menu individually.
- You will also get the Go to class details button at the end of the popup if you want to check more information regarding the scheduled class. By clicking on the “Go to class details”, you will be navigated to the class details in the “Classes” menu.
- By clicking on the specific date, you will see the day-wise scheduled classes.
- By clicking on the “Week”, you will see the scheduled classes of the current week.
- By clicking on the “Day”, you will see the schedule of the current day.
- By clicking on the “List”, you will see the day-wise schedule classes in the list view. The list will be appeared as per the current week.
Active Classes
By scrolling down from the dashboard page at the end, you will see the “Active Classes” details. You find all the active classes records in the list view.
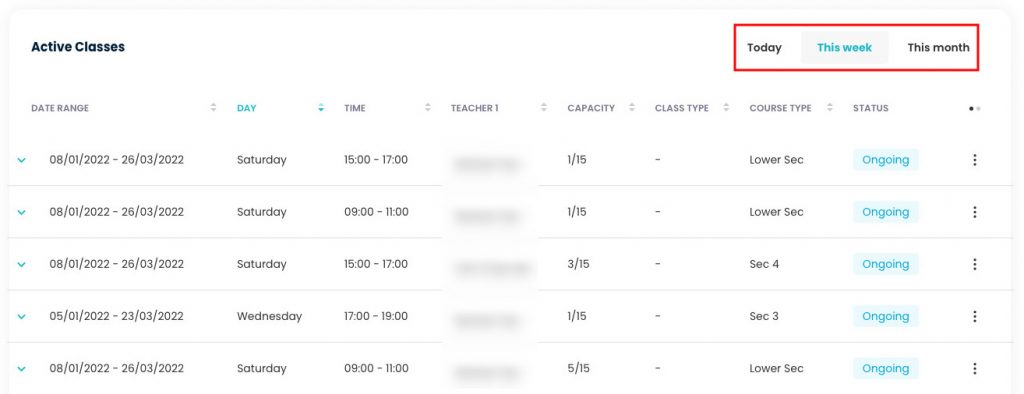
You can see the active classes based on the duration: Today. This week, and This month. So, you can check out the classes on a daily, weekly, and monthly basis.
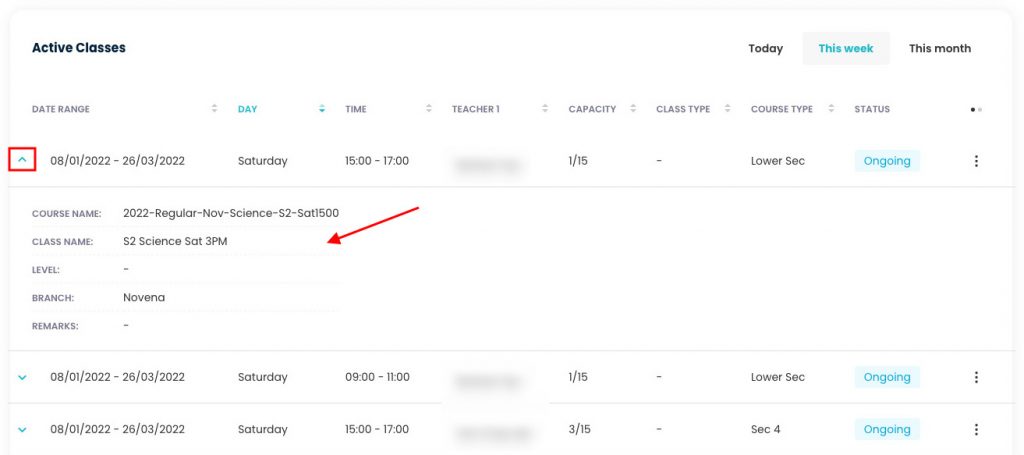
Check class details
You can check the active class details by clicking on the ‘down arrow’ of the record.
Advanced options
- By clicking on the ellipsis icon of the active class record, you will find 4-different advanced (quick) options related to the class: Stop Class, Duplicate Class, Registration Link, and Delete Class.
Stop Class
By clicking on the “Stop Class”, the active class will be stopped. You will get the popup to confirm the stop class. If you click on the Yes button, the class will be stopped. You can check the stopped class detail by navigating to the “Classes” module manually.
Duplicate Class
By clicking on the “Duplicate Class”, you will see a popup named duplicate class. So, you will not be required to add a new class every time if the class details are the same except for some others. Once you save the duplicate class, later, you can update the class details from the “Classes” module.
Registration Link
You can register the.
Need more help? Ask us a question
Please let us know more of your details and our team will reach out to you very shortly.