
Course Runs
Search
By clicking on the Search Icon, you can search the specific course run by entering the course run ID, SSG Course Name and Course Reference Number.
Filter
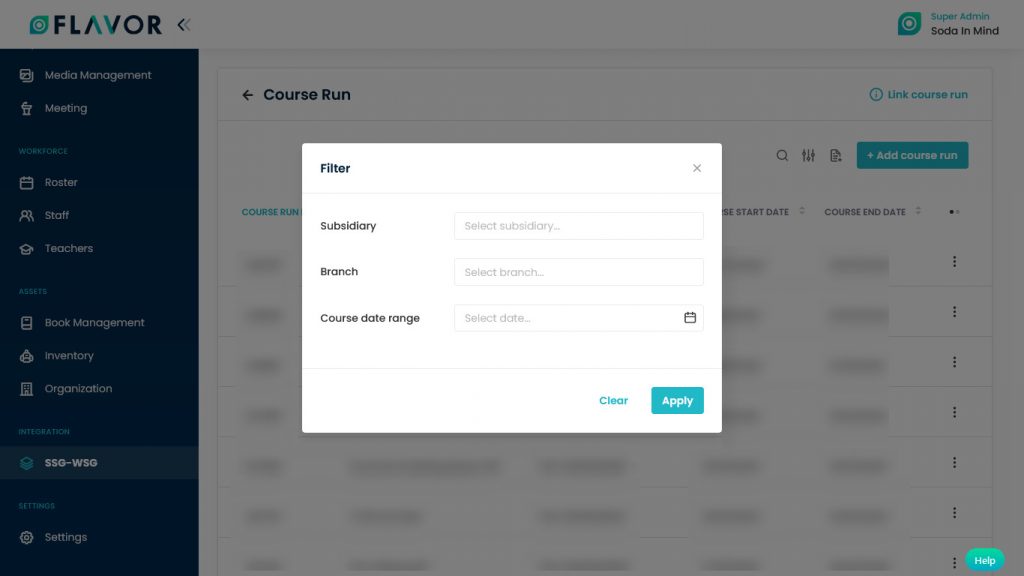
You can filter the course run based on specific parameters. Click on Filter Icon, after clicking, a popup form will appear on your screen. Enter Subsidiary, Branch and Course Date Range. Click on the Apply button to save the parameters.
Export
- To export all data, you have to click on the Export Icon.
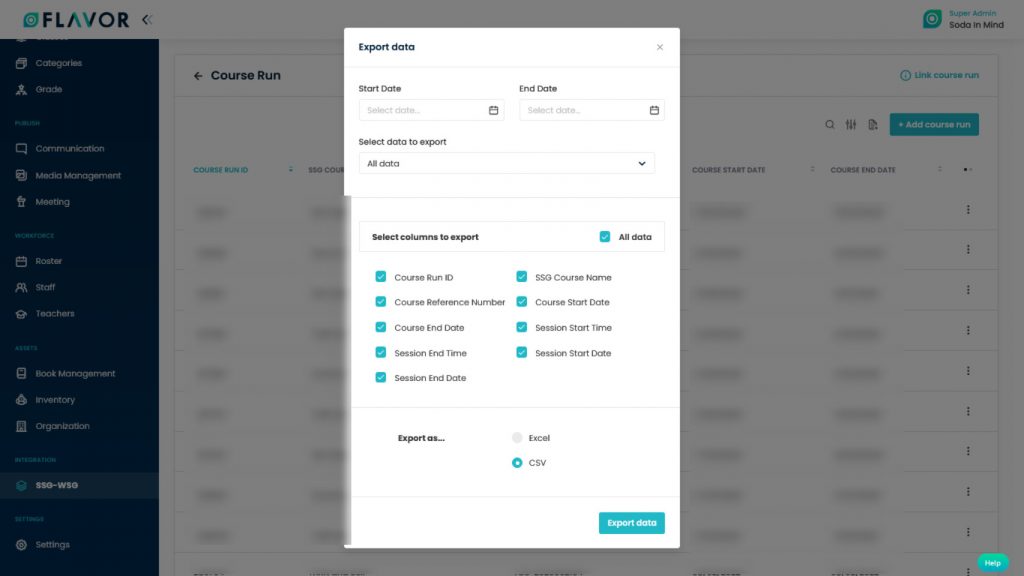
- After clicking on the Export icon, a pop-up form named Export Data will appear on your screen.
- Start Date and End Date: Select the time period in the start date and end date column for which time period’s data you need.
- Select Data to Export: Here, you can export the data of all rows or 15 rows by simply clicking on the dropdown.
- Select Column to Export: Select columns to which you need your data to export. Like if you want all the data of the course run, then simply click on “ALL DATA” and you will get the data of the course run submodule in your exported file.
- Export as: Then select a format in which you want to export your data i.e (EXCEL or CSV).
- After selecting the relevant records/data, click on the Export Data button to export all the data in the selected file (Excel/CSV).
Add Course Run
- To add a course run click on the + Add Course Run button.
- A popup named Choose Class will be open.
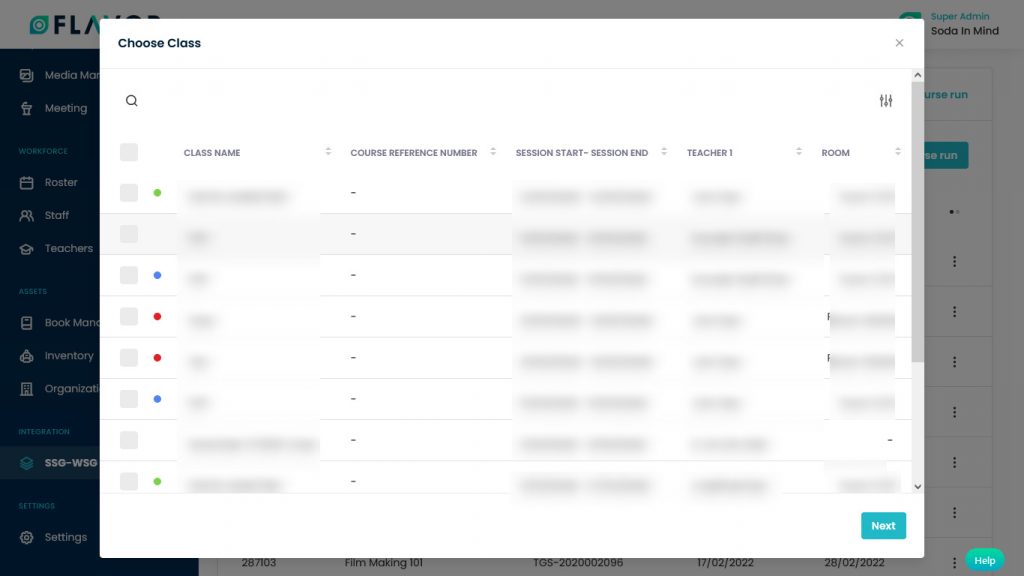
- Here, you can see the Search and Filter option. You can search and filter classes according to your need.
- Select classes from the list.
- Click on the Next button, you will be redirected to the Add Course Run page.
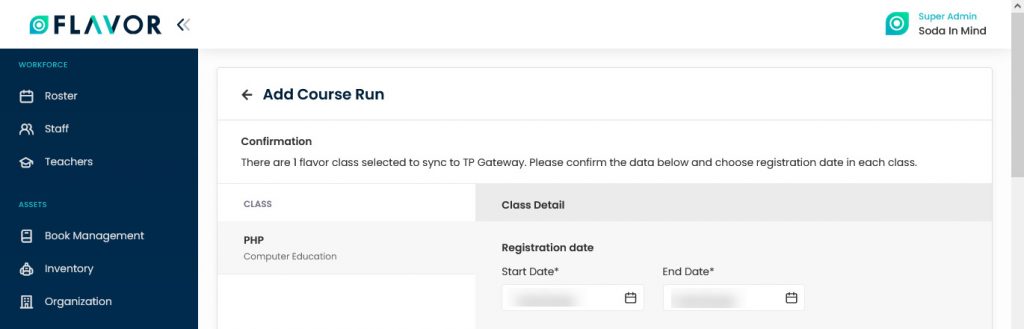
- Here, you can see the fill-up form for Add Run Course.
- Here, you can see in the Confirmation section, the number of classes that you have selected.
- Class: In the class column you will see the selected classes.
Class Details
- Registration Date: Here, you can select the start and end date of class registration.
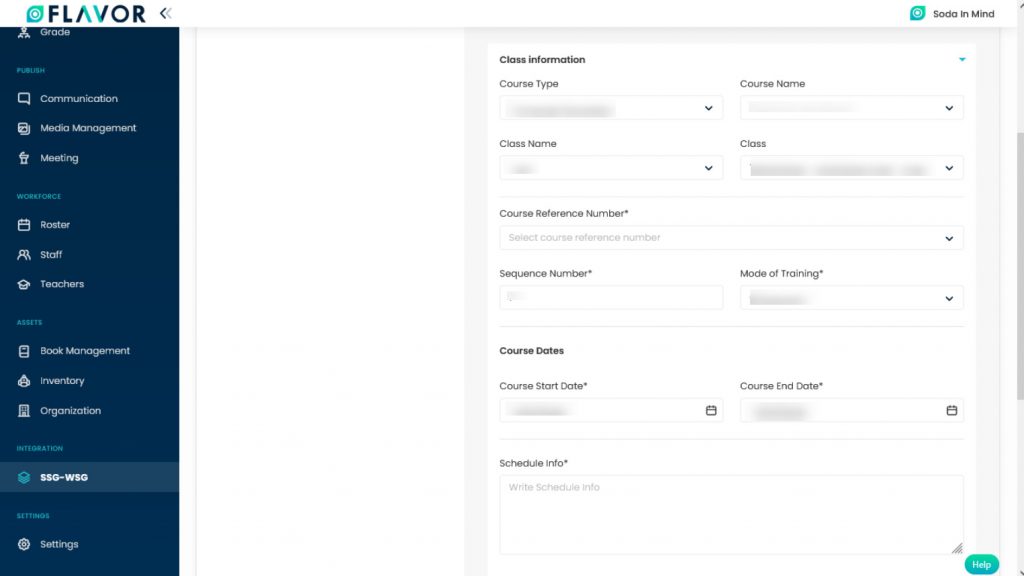
Class Information
- Class information: Navigate to the Class Information section. Click on the accordion, it will be open.
- Course Type: Select the type of course from the dropdown.
- Course Name: Select the name of the course from the dropdown.
- Class Name: Selec the class name from the dropdown.
- Class: Here, you can select the class time and date from the dropdown.
- Course Reference Number: Select the course reference number from the dropdown.
- Sequence Number: the sequence number will be auto-populated based on the selection of the Course Reference Number.
- Mode of Training: Select the mode of training from the dropdown.
- Course Dates: Select the start and end date of the course from the date picker.
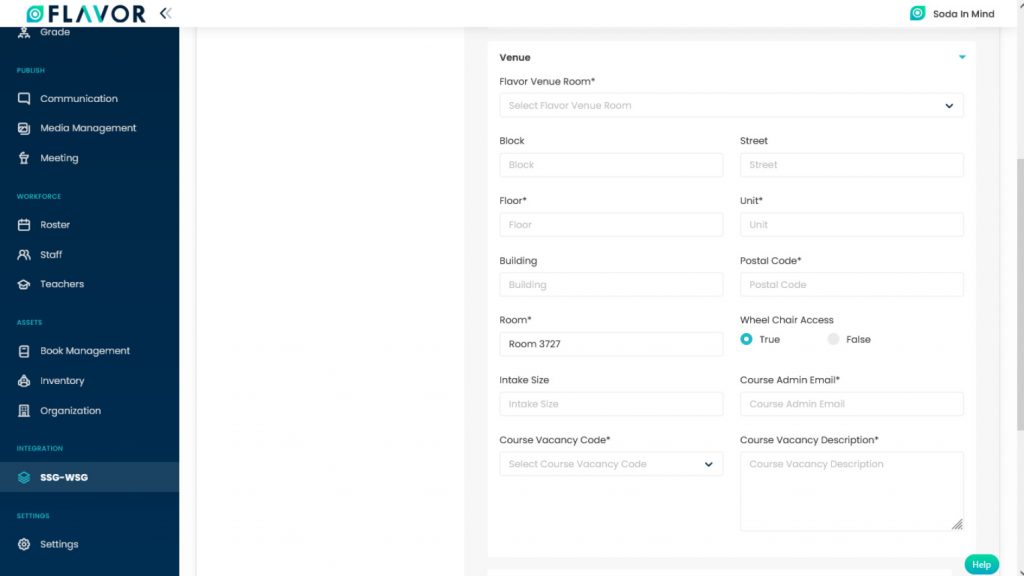
Venue
Here, you can tell the student where the class will be held.
- Flavor Venue Room: Select the room from the dropdown.
- Block: Enter the block name.
- Street: Enter the street.
- Floor: Enter the floor
- Unit: Enter the unit.
- Building: Enter the building number or name.
- Postal Code: This field is mandatory. enter the postal code.
- Room: Enter the Room Number
Session
- Navigate to the Session tab. Click on it. Here, you can see Session details.
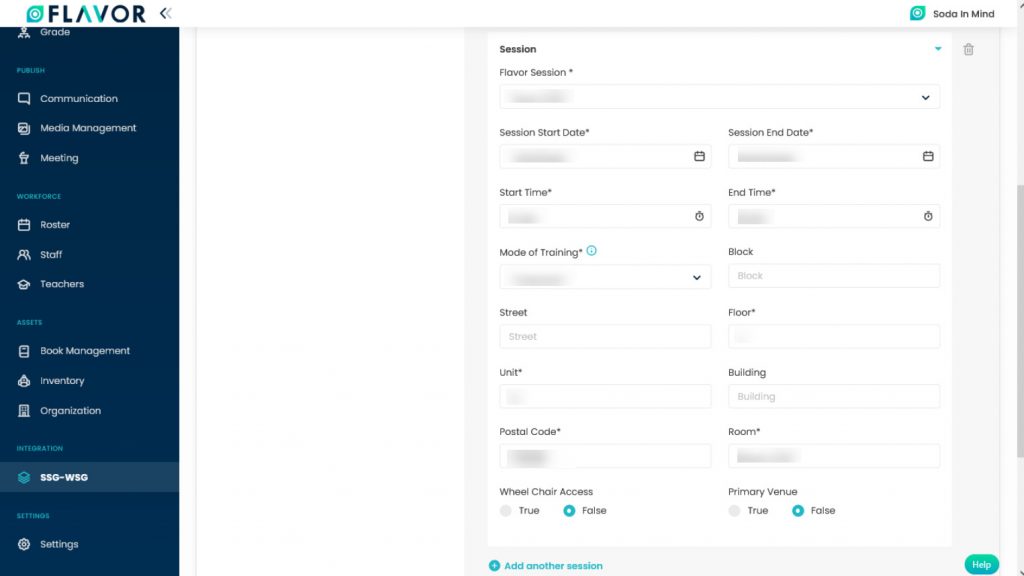
- If you want to add more sessions click on the + Add Another Session button.

- A new tab of Session will be open.
- If you want to delete the session then click on the Delete icon.
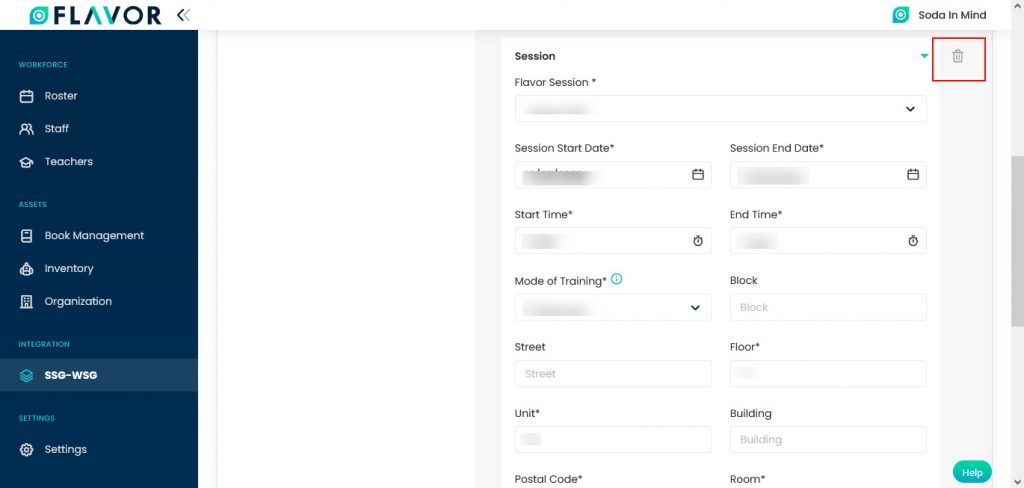
- A confirmation box will appear on your screen.
- Click on the Delete button to delete the session.
Teacher
- Navigate to the Teacher tab. Here, you can see the Teacher’s details.
- If you want to add more teachers to a class then click on the + Add Another Teacher button.

- A new tab for teachers will be added.
- If you want to delete the teacher then click on the Delete icon.
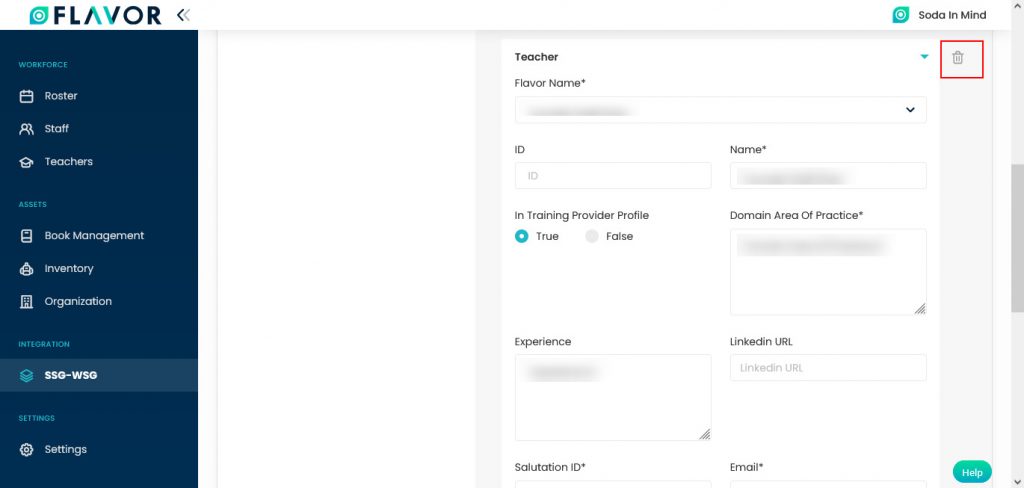
- A confirmation box will appear on your screen.
- Click on the Delete button to delete the teacher.
- Click on the Confirm button to add the Course Run.
Course Run Records
Column Sorting
All course run will be shown in Tabular Format. You can sort the data by clicking on Column Sorting Arrows in the Table’s Header.
Column Visibility
You can sort columns by clicking on the Ellipsis Icon, you will get the pop-up form named Select Data to View. Mark the columns you want to see and unmark the ones you don’t want to see in the table. After this procedure click on the Apply Filter button.

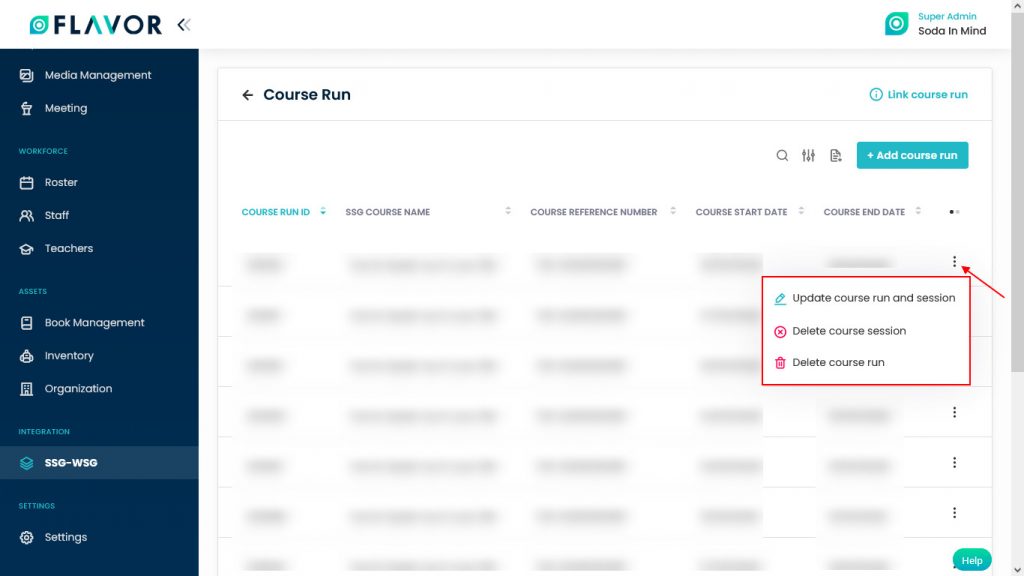
Action Buttons
Click on Action Button (Vertical Ellipsis), and a small popup box will appear on your screen with Update Course Run, Delete Course Session and Delete Course Run options.
Update Course Run and Session
- To update the course and session click on the Update Course Run and Session option.
- You will be redirected to the Edit Course Run And Session page.
- Update the details.
- Click on the Save button to save the updated details.
Delete Course Session
- If you want to delete the session click on the Delete Course Session option.
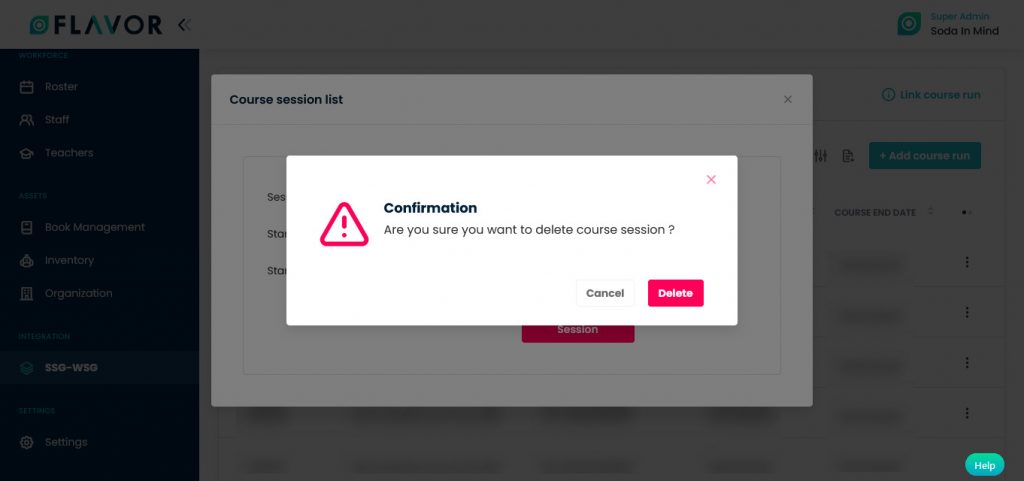
- A popup named Course Session List will be open.
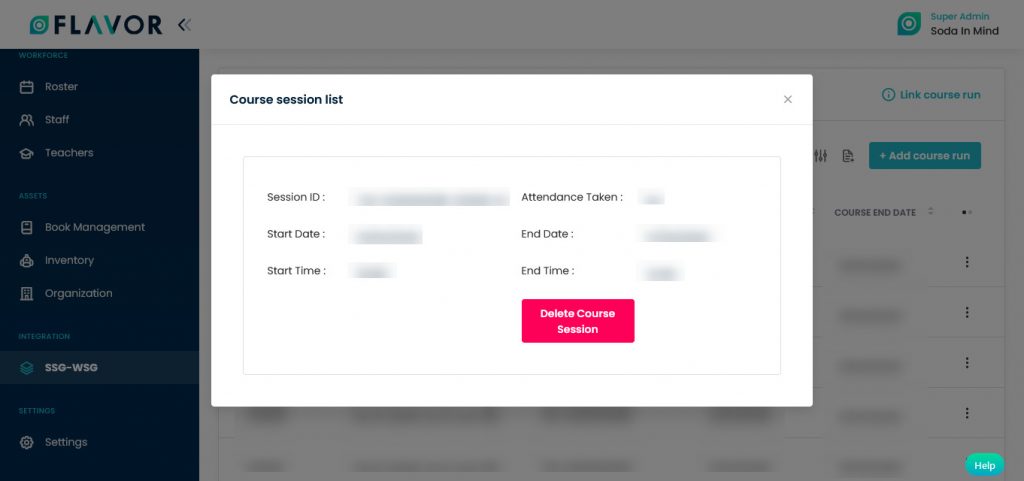
- If you want to delete the session, click on the Delete Course Session button.
- A confirmation popup will be open.
- Click on the Delete button to delete the session.
Delete Course Run
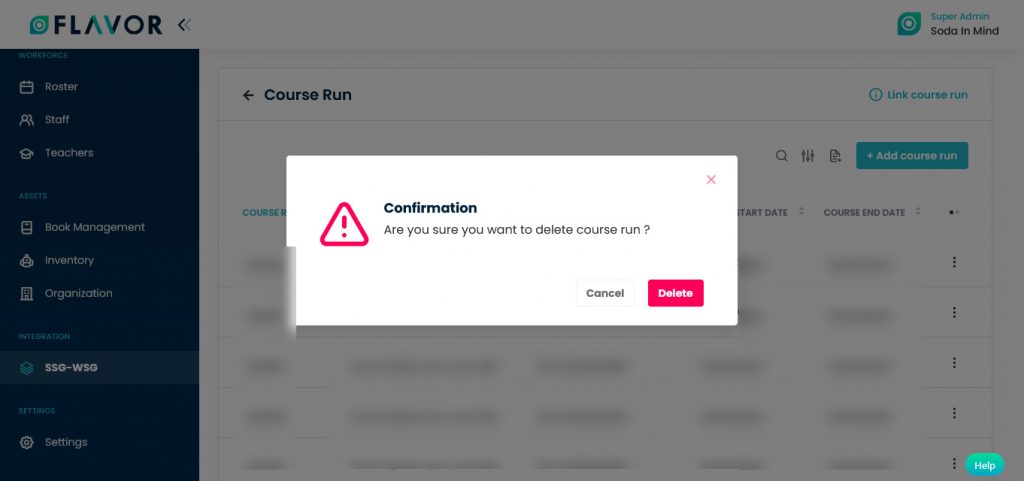
- If you want to delete the entire course click on the Delete Course Run option.
- A confirmation popup will be open.
- Click on the Delete button to delete the course.
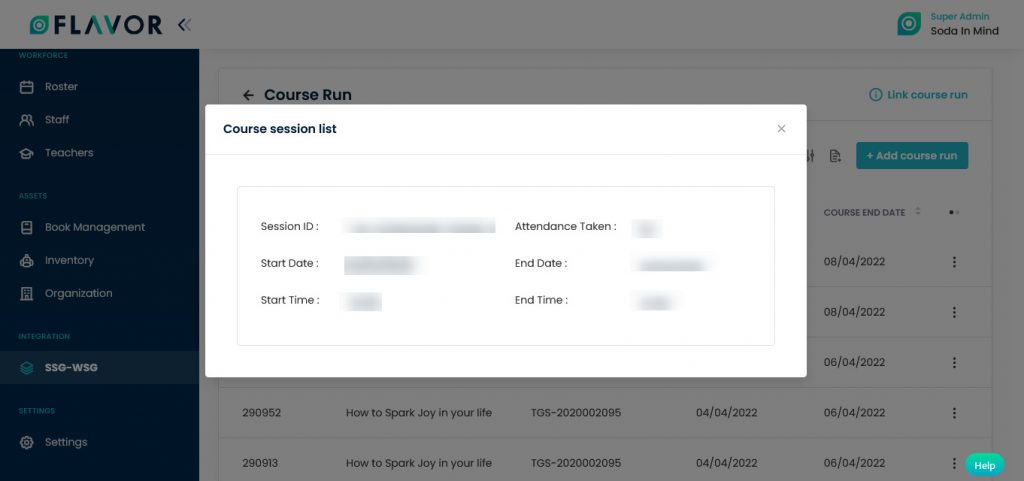
Course Run Details
- To check the details of any course run then click on any record, a popup named Course Session List will be open.
- From here, you can check the details of the course session.
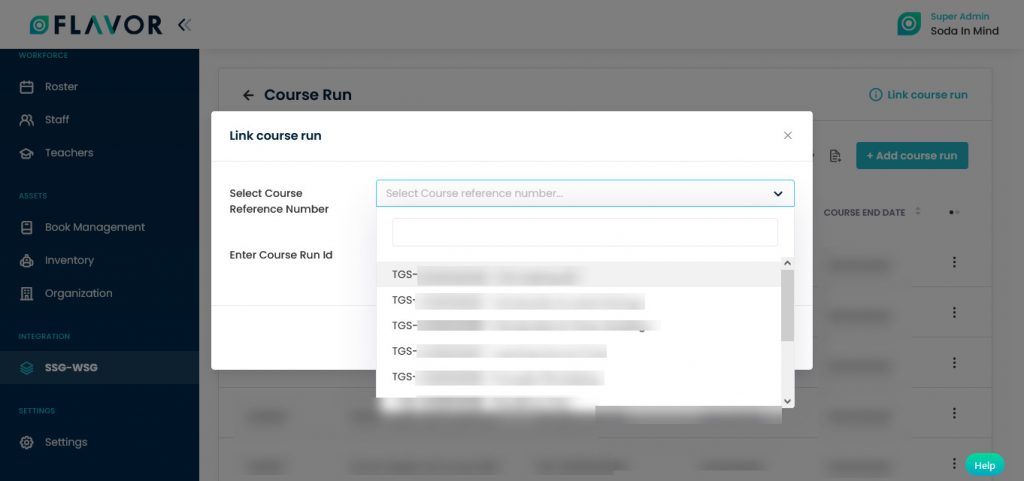
Link Course Run
You can search and link your existing Course Run using Course Run ID and Course Reference Number.
- To link course run click on this option, and a popup named Link Run Course will be open.
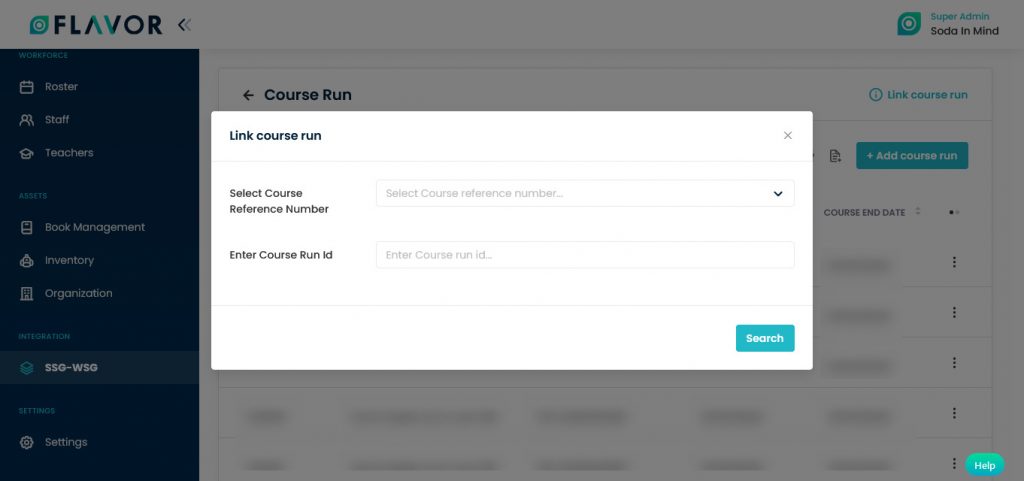
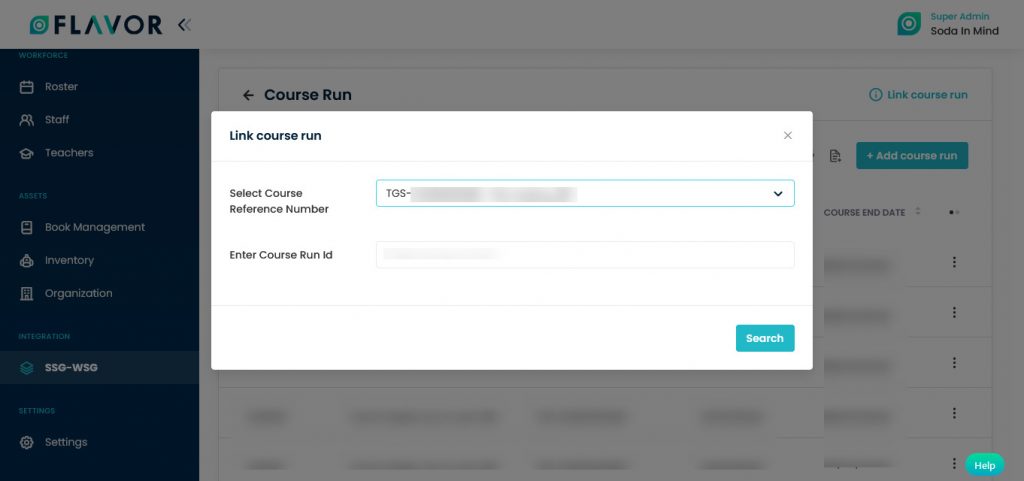
- Select Course Reference Number: Select the course reference number from the dropdown.
- Enter the Course Run ID.
- Click on the Search button.
- A popup named Link Course Run will be open.
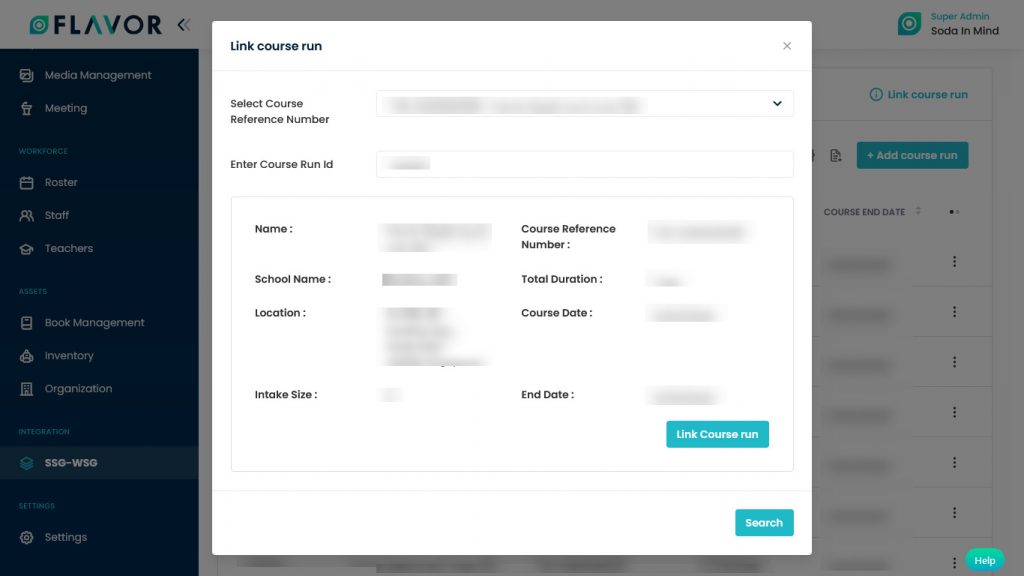
- Here, you can get the details about the course.
- Click on the Link Course Run button.
- If the course is already linked you will get the Course Run has Already been Linked or if the course run is not linked then you can get the message The course has been linked.
Need more help? Ask us a question
Please let us know more of your details and our team will reach out to you very shortly.