
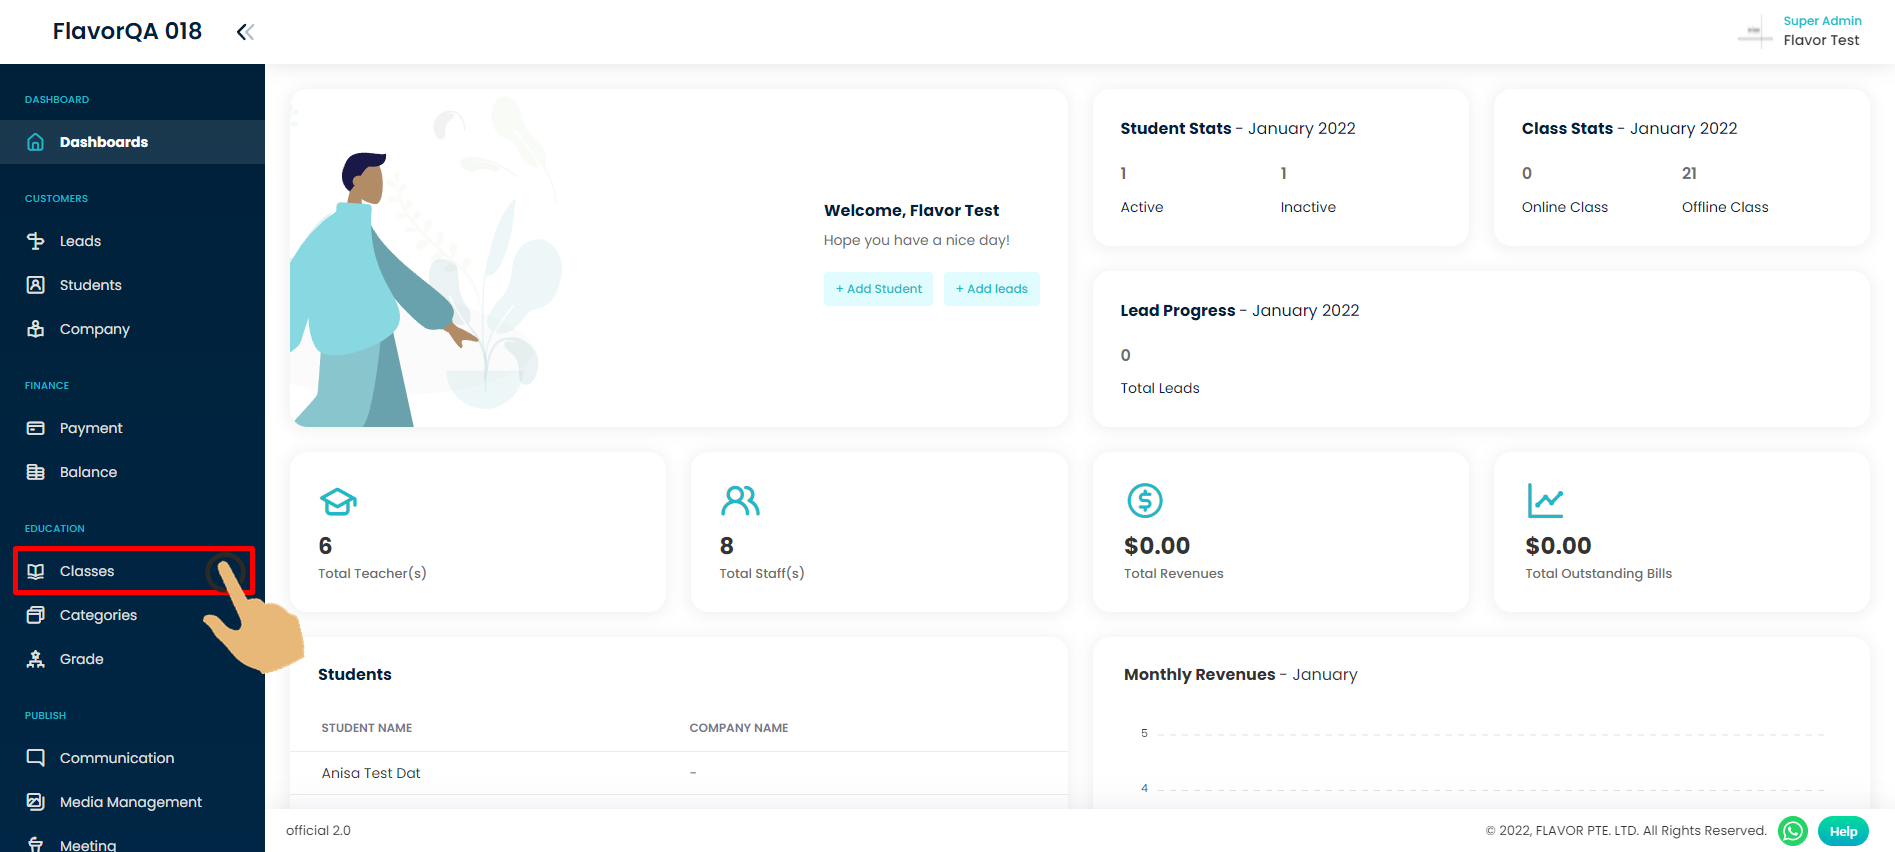
Step 1
After login, the system will direct you to the dashboard page. In the side menu, click the Class Menu.
Step 2
Choose a certain class you want to create a zoom link into.

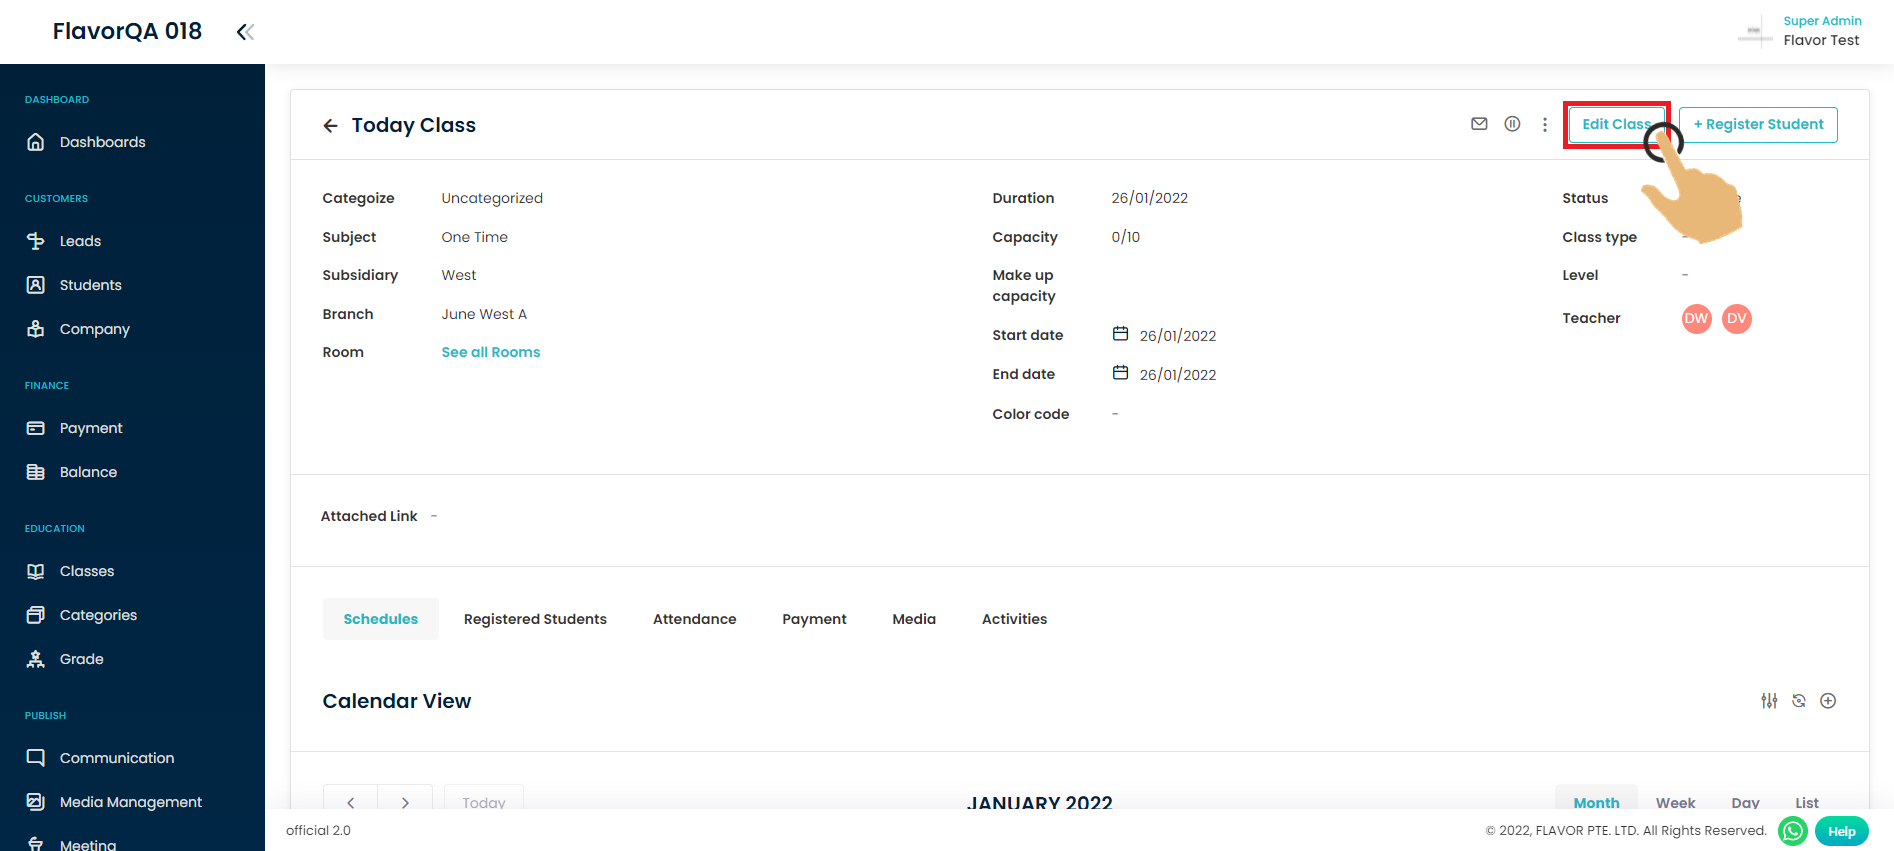
Step 3
Click edit class.
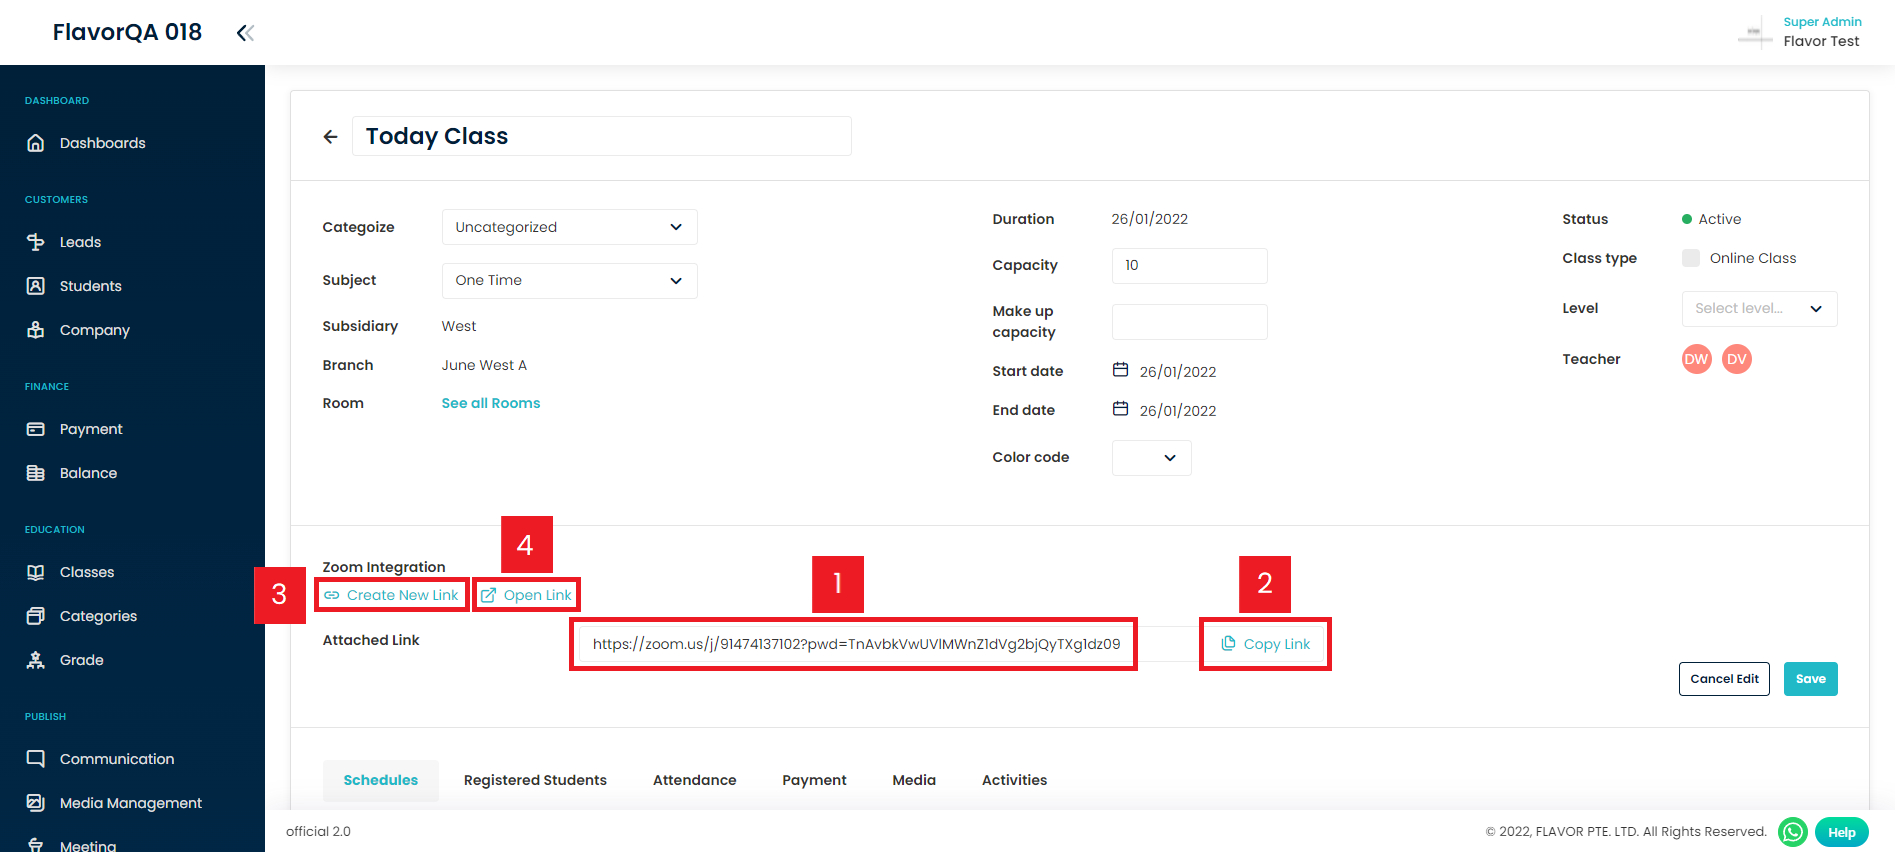
Step 4
Click create new link to generate zoom link. The schedule which will be created is based on the session date and time of the particular class.

Step 5
The link has finally been created.
- The zoom link which has been created.
- The copy button to copy the zoom link.
- Button to create a new link, but the previous link which has been created will not be deleted.
- Button to open the link and launch the zoom.
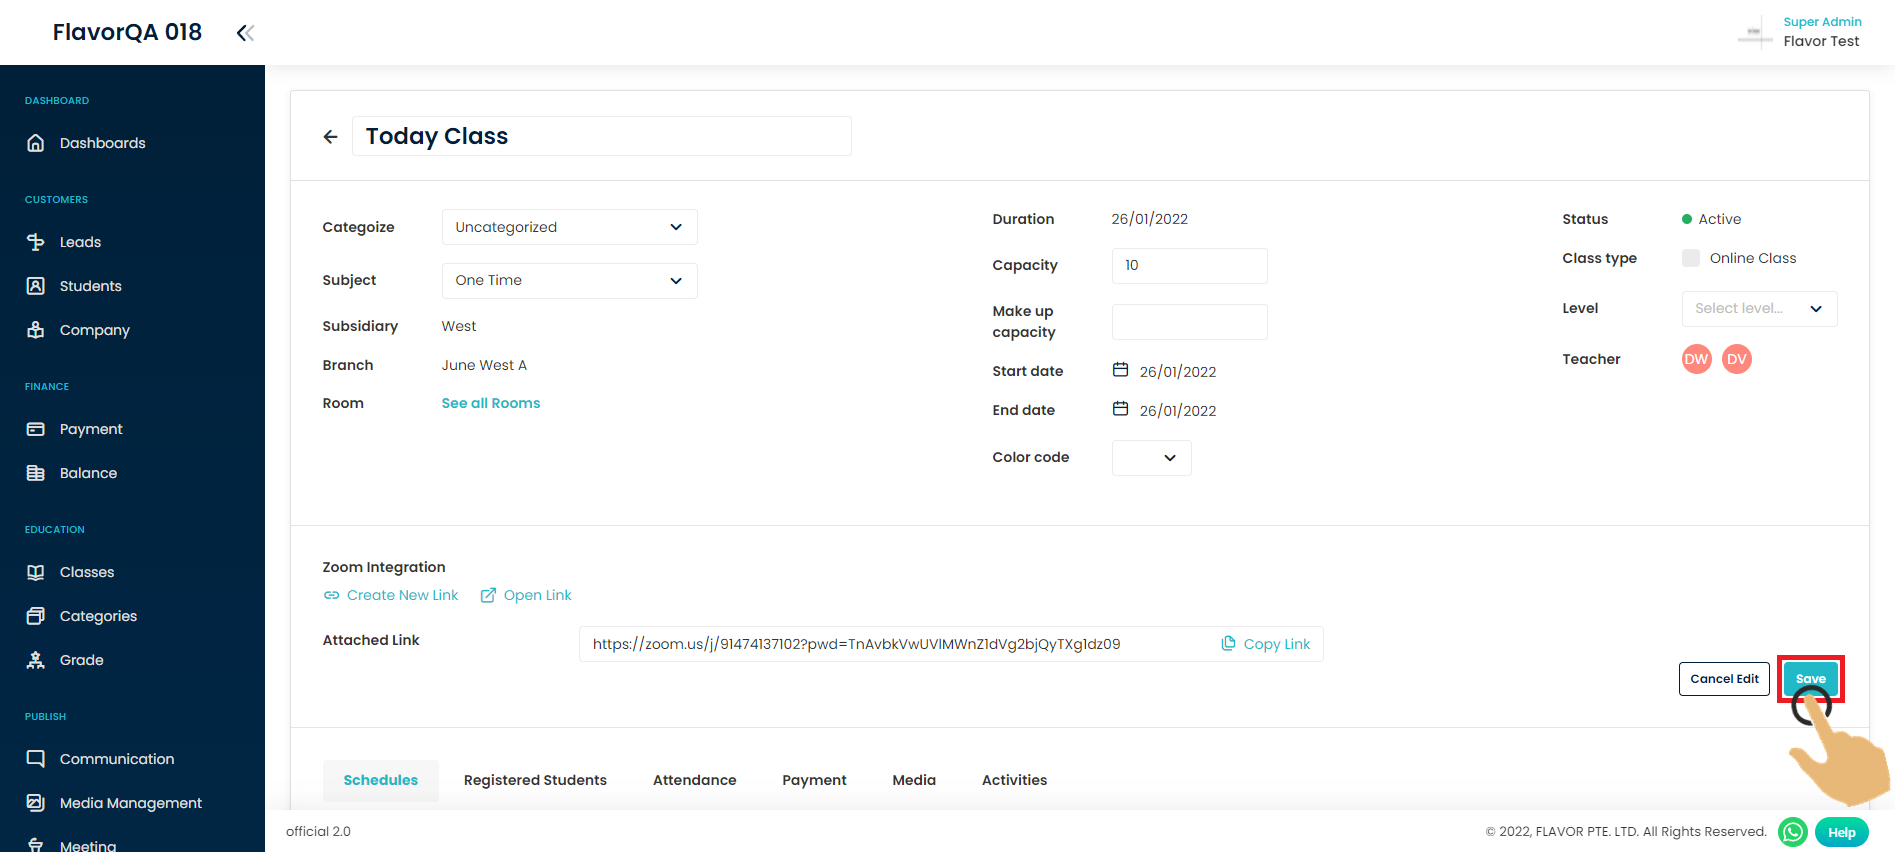
Step 6
Click save button to finalized zoom link creation.
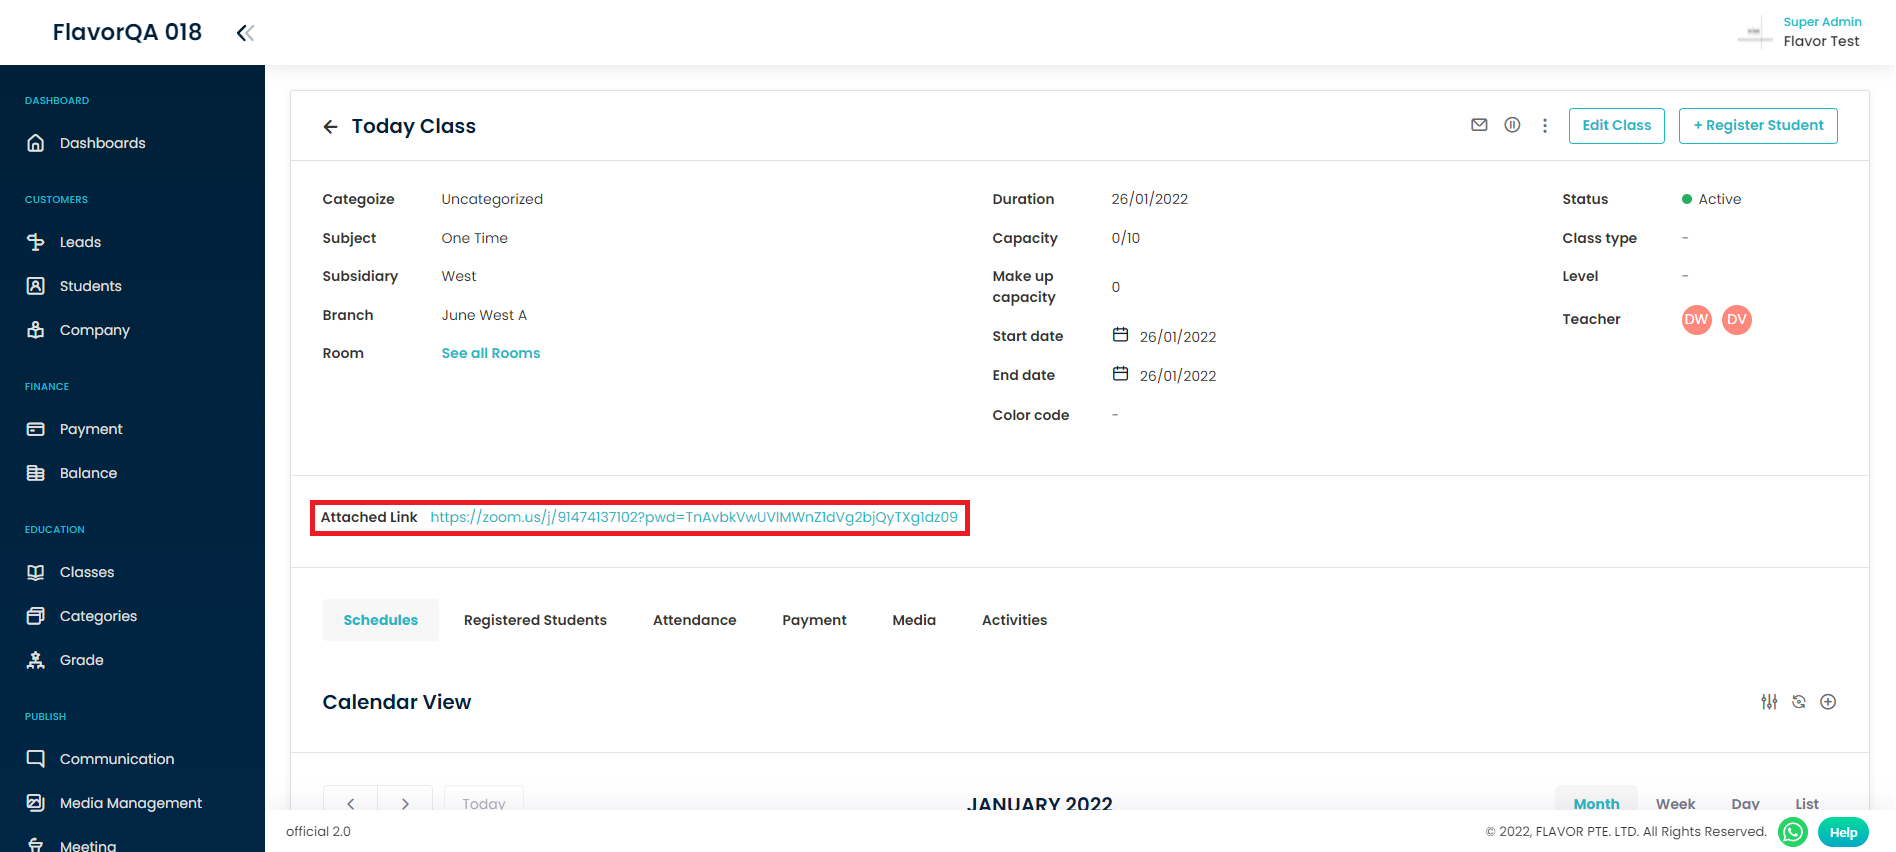
Final Result
Zoom link which you have created. You can click the link to open the link and launch the zoom apps immediately.
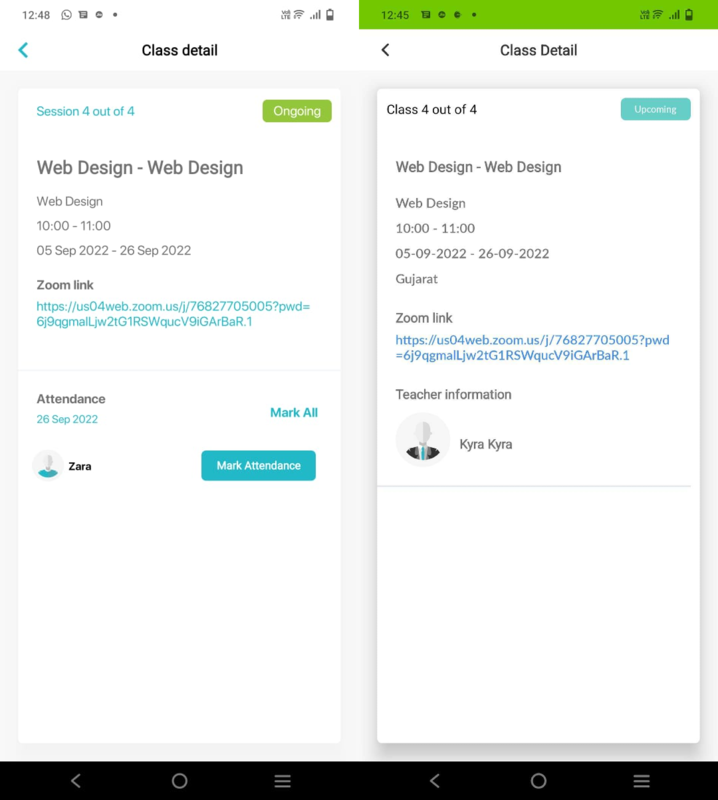
Note
Once the zoom link is created, it will be visible in scholar and professional app too.
Need more help? Ask us a question
Please let us know more of your details and our team will reach out to you very shortly.