
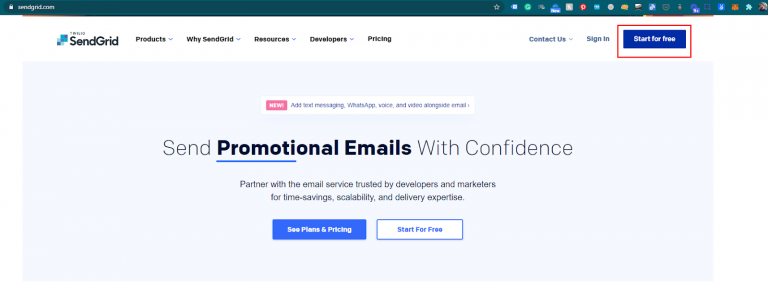
Step 1
Firstly, you will have to sign up on SendGrid for free account.
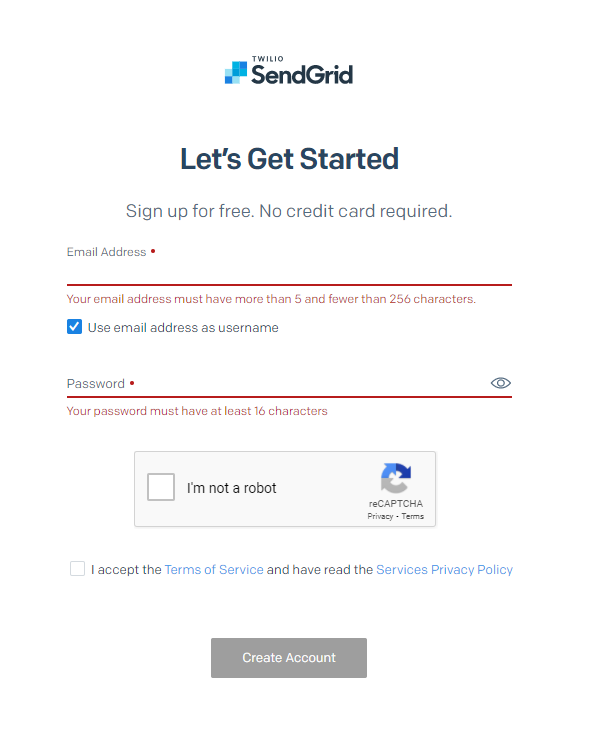
Step 2
Then you must update your login credentials that you intend on using.
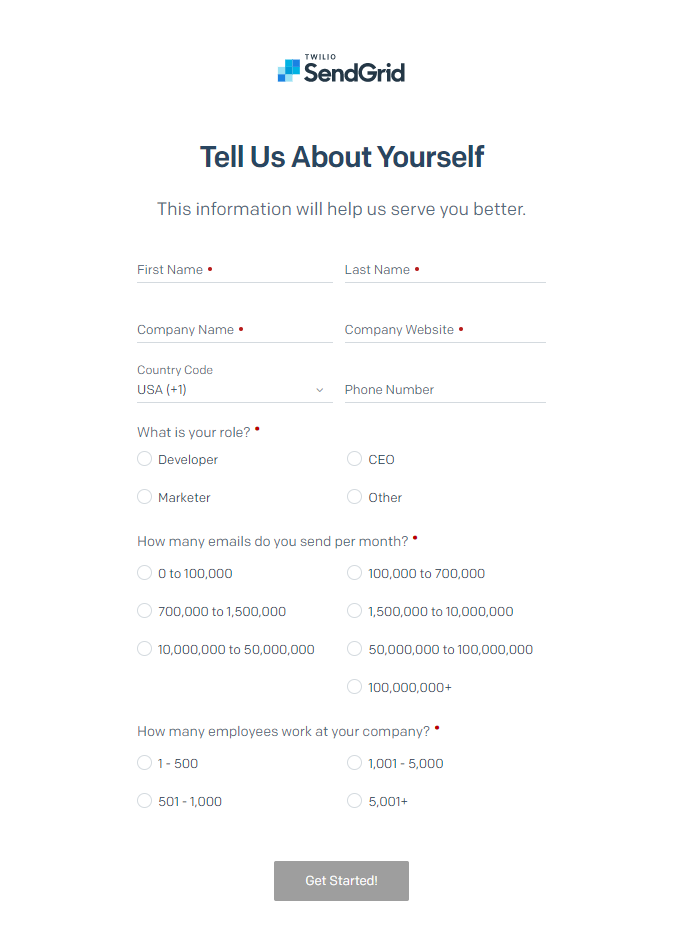
Step 3
Then you must update your details and organization details.
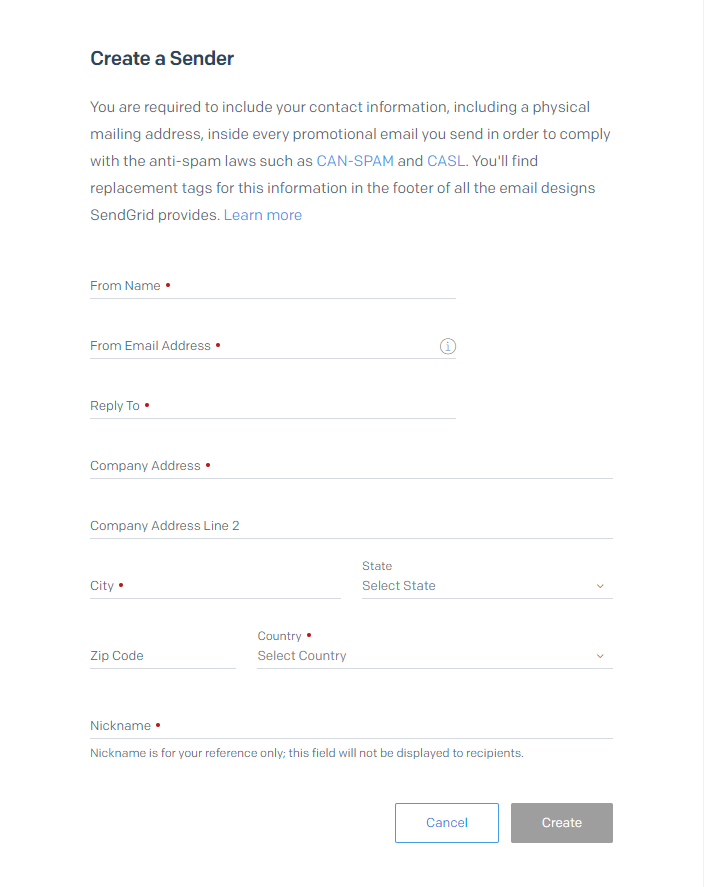
Step 4
Once you done with signup process you will have to create a single sender e-mail from which the email must go out

Step 5
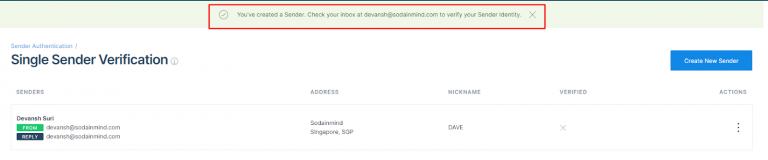
These are the details that you need to update when you are creating a sender
Step 6
The Sender email that you updated will receive a verification email from SendGrid. Verify and then you are good. In Screenshot below you that VERIFIED column is showing X
Step 7
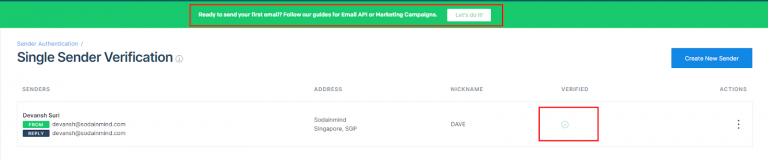
After you verify, you can see the green tick under VERIFIED COLUMN. Now we move to creating API Keys.
Step 8
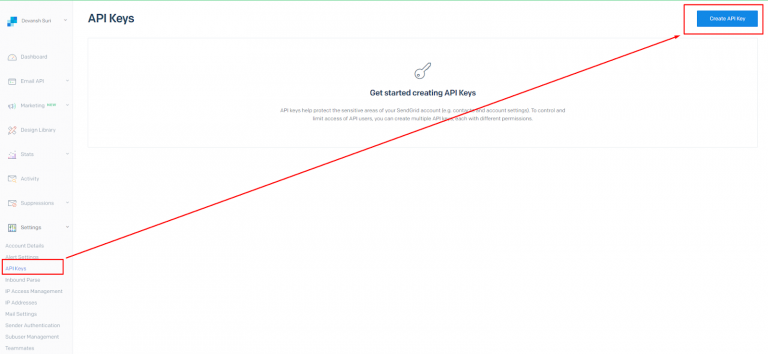
Under Account Details you will find API keys menu there you can click on CREATE API KEYS button.
Step 9
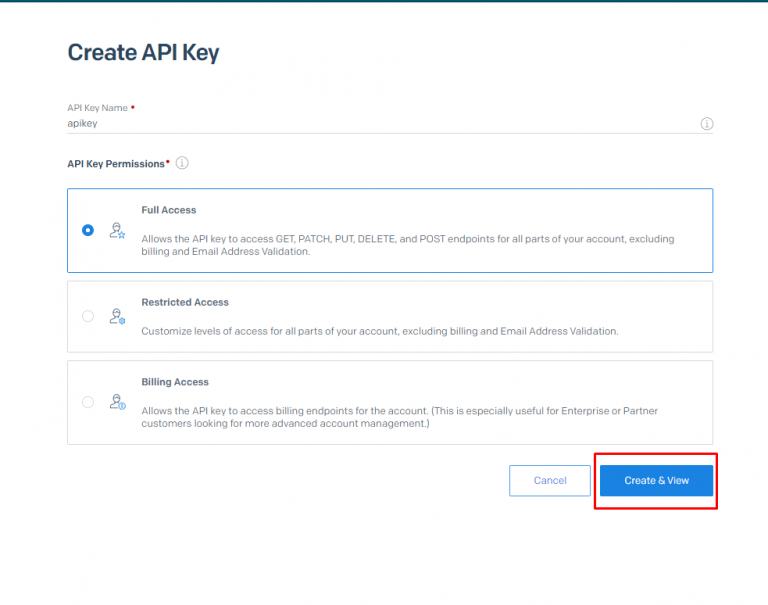
Give that key a name followed by giving it FULL ACCESS permission. Then click on Create & View.
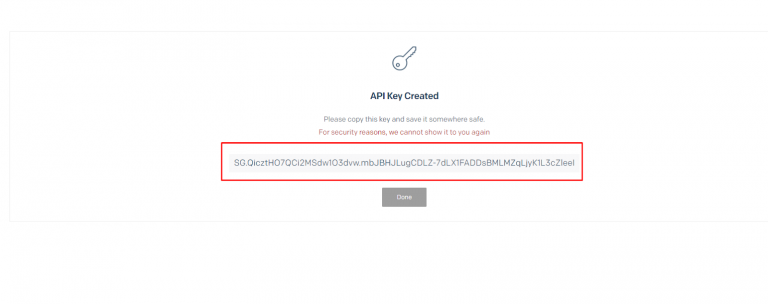
Step 10
Copy this API keys and save it somewhere because sendgrid will not allow you to view this key again.
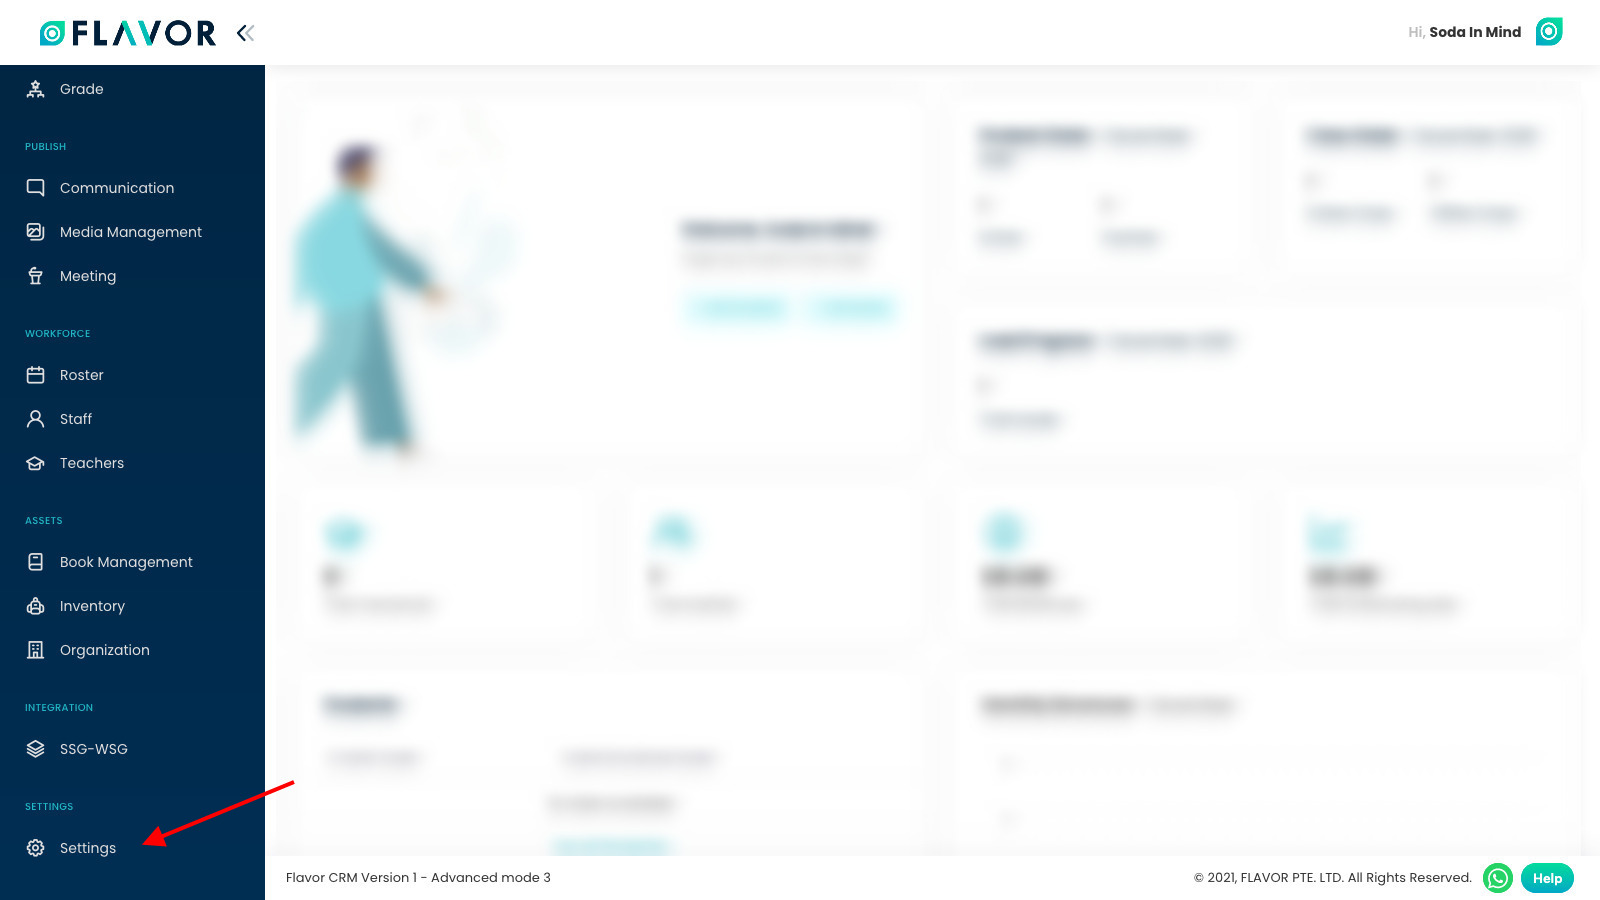
Step 11
To connect Flavor CRM system with Sendgrid SMTP, go to Settings.
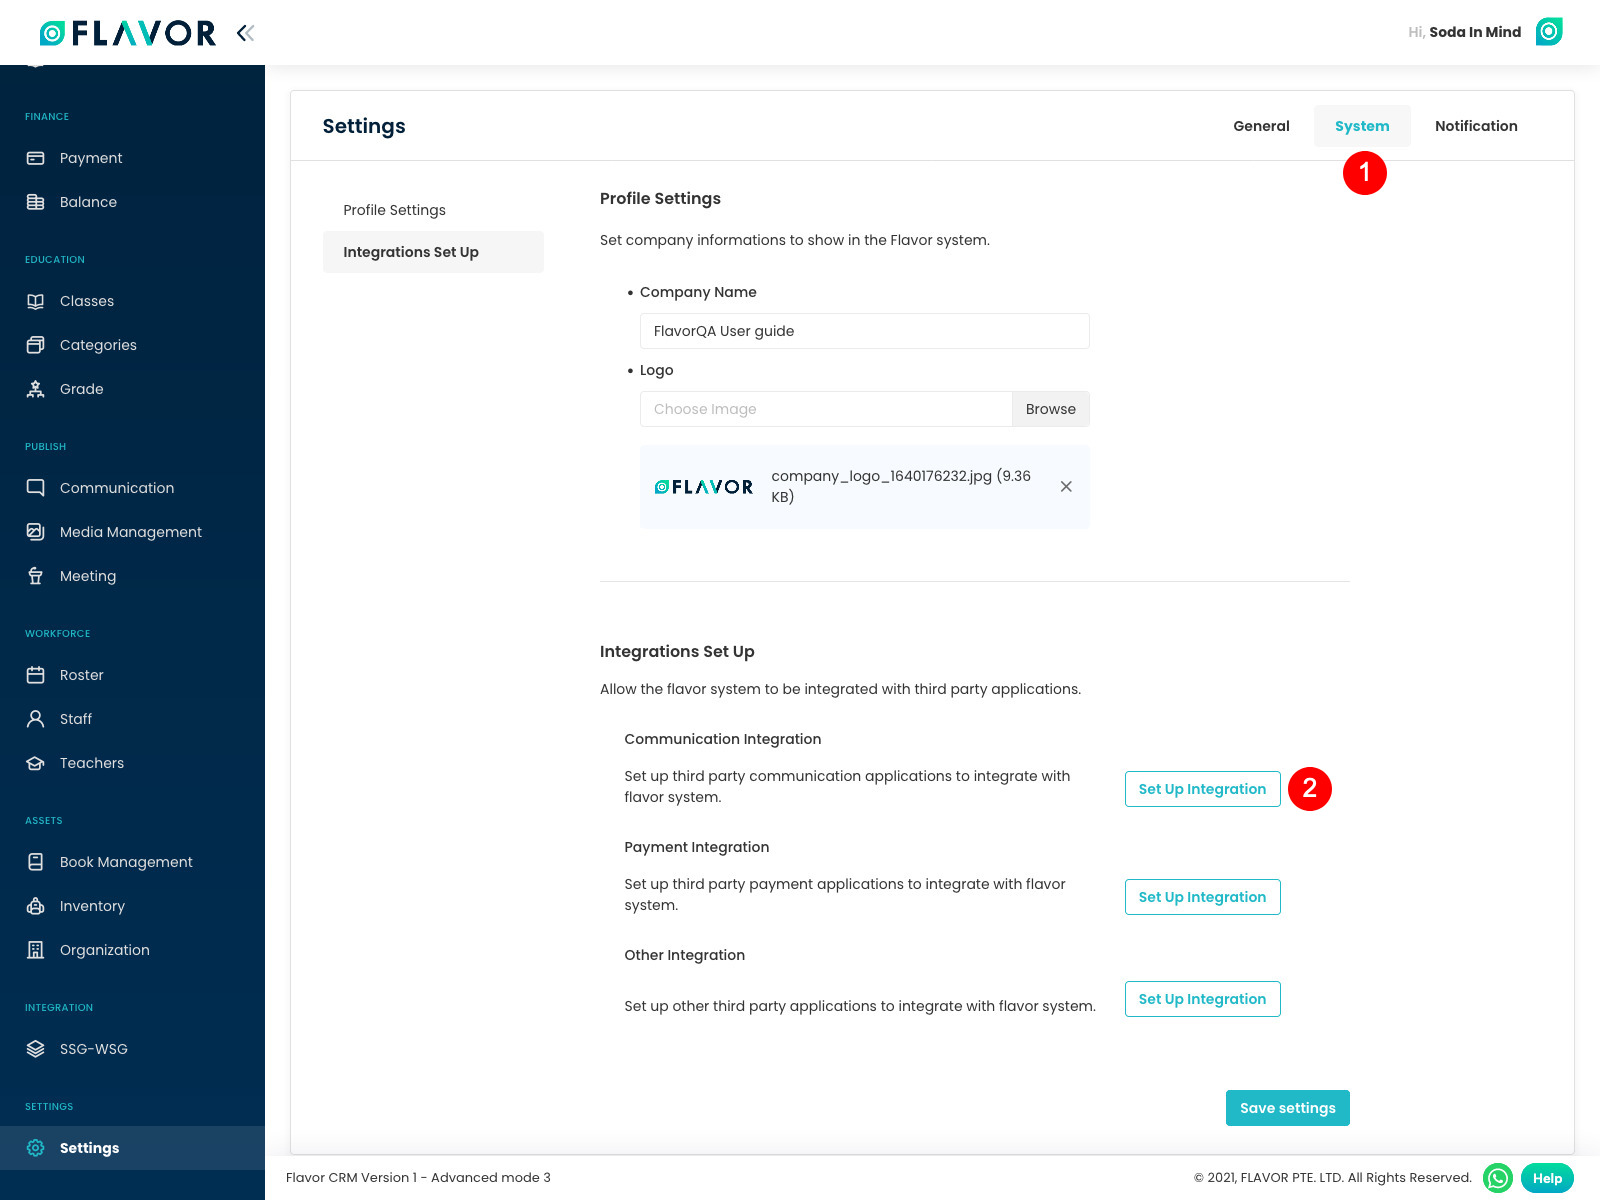
Step 11
Here, click on System and then click on Set Up Integration button in Communication Integration section.
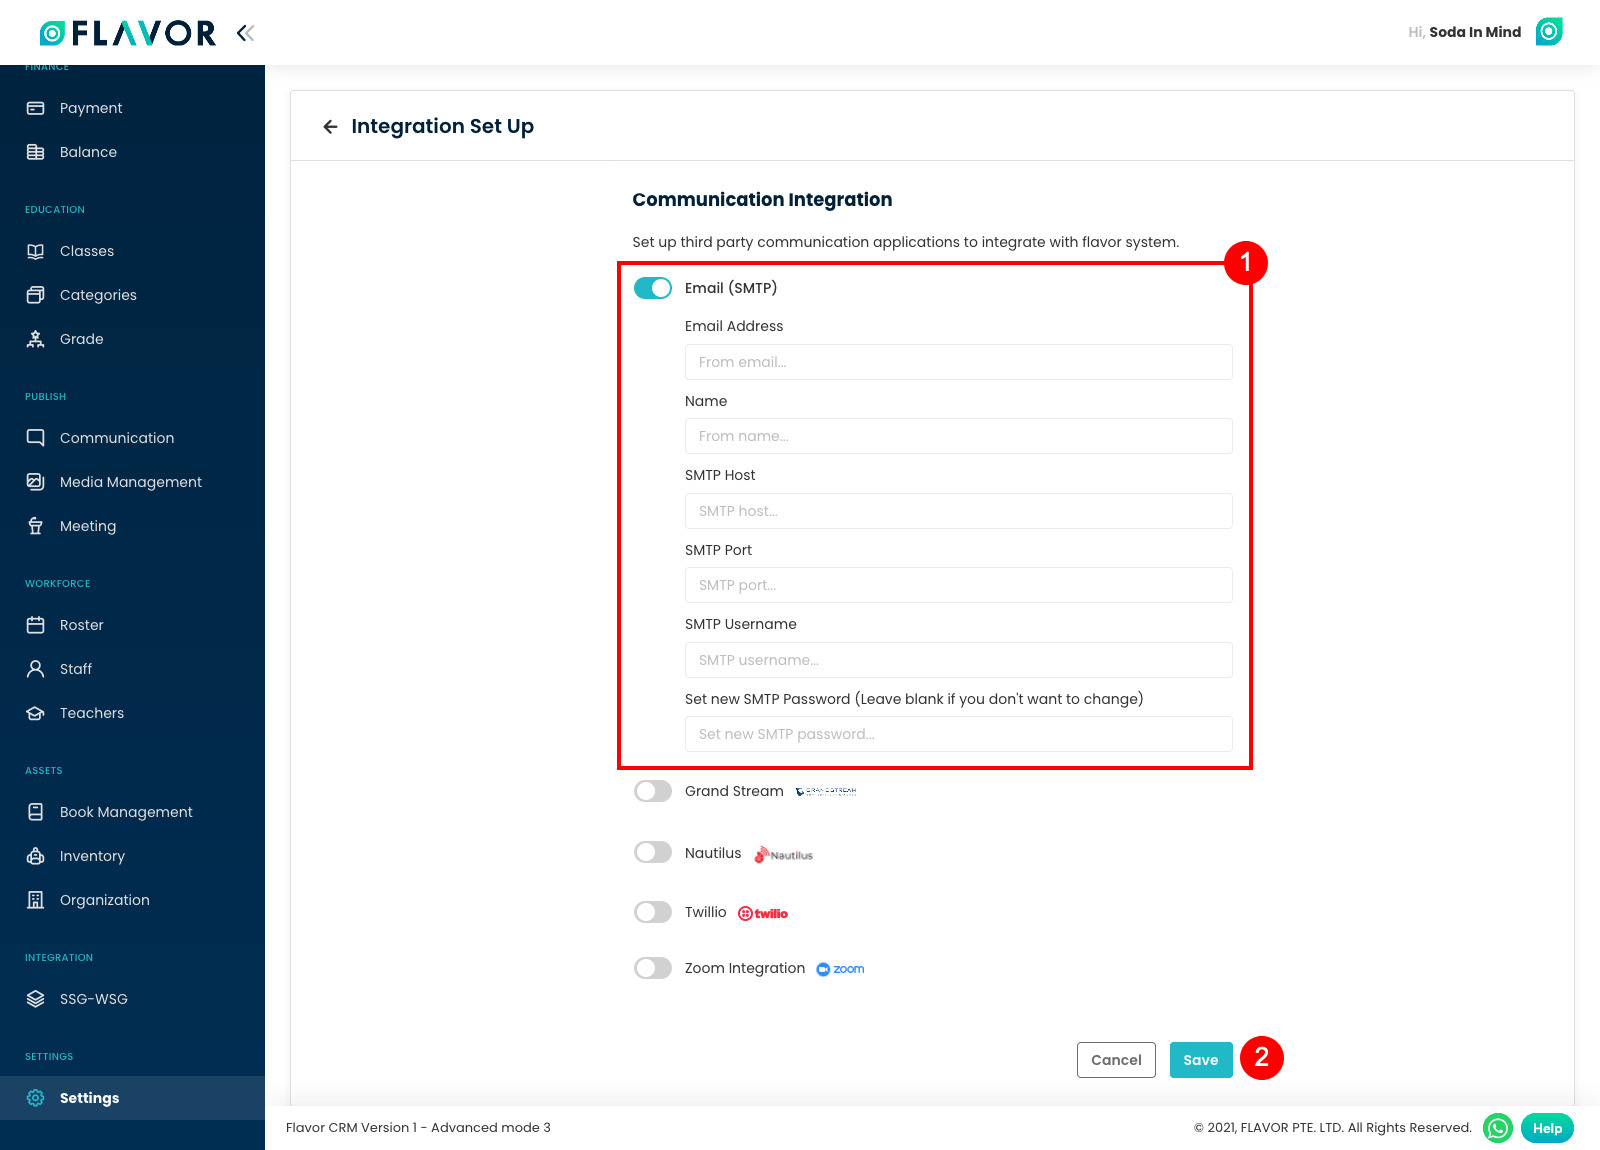
Step 12
Here, look for Email (SMTP). Enable this section if needed.
- Now here you have to update the same SINGLE SENDER EMAIL that you verified over sendgrid in Email Address field.
- Name must have then Name that must be shown the receivers of your email.
- SMTP Host must be smtp.sendgrid.net.
- SMTP Port must be 587.
- SMTP Username must have the name you have kept of API keys in Sendgrid.
- SMTP Password must have here the API key pasted here.
After filling the fields, scroll down and click on Save button.
Need more help? Ask us a question
Please let us know more of your details and our team will reach out to you very shortly.